
Jan Kanchaross
3D Environment Artist
GAME TITLES
2024-2026 Maboroshi Artworks - Sombras: negative frames
Lead 3D Environment Artist
2022-2023Big Brane Studios - Sushi Ben VR
3D Artist
About
I'm a 3D Environment Artist based in Thailand working in the game industry with 3+ years of experience.
My passion lies in crafting stylised environments and low-mid poly game assets. I enjoy hand-painting mixed with PBR pipelineProficiency: Maya, Zbrush, Photoshop, Substance Painter, 3DCoat, SpeedTree and Unreal Engine
Currently available
[email protected]
You can send an email directly or fill out the form below
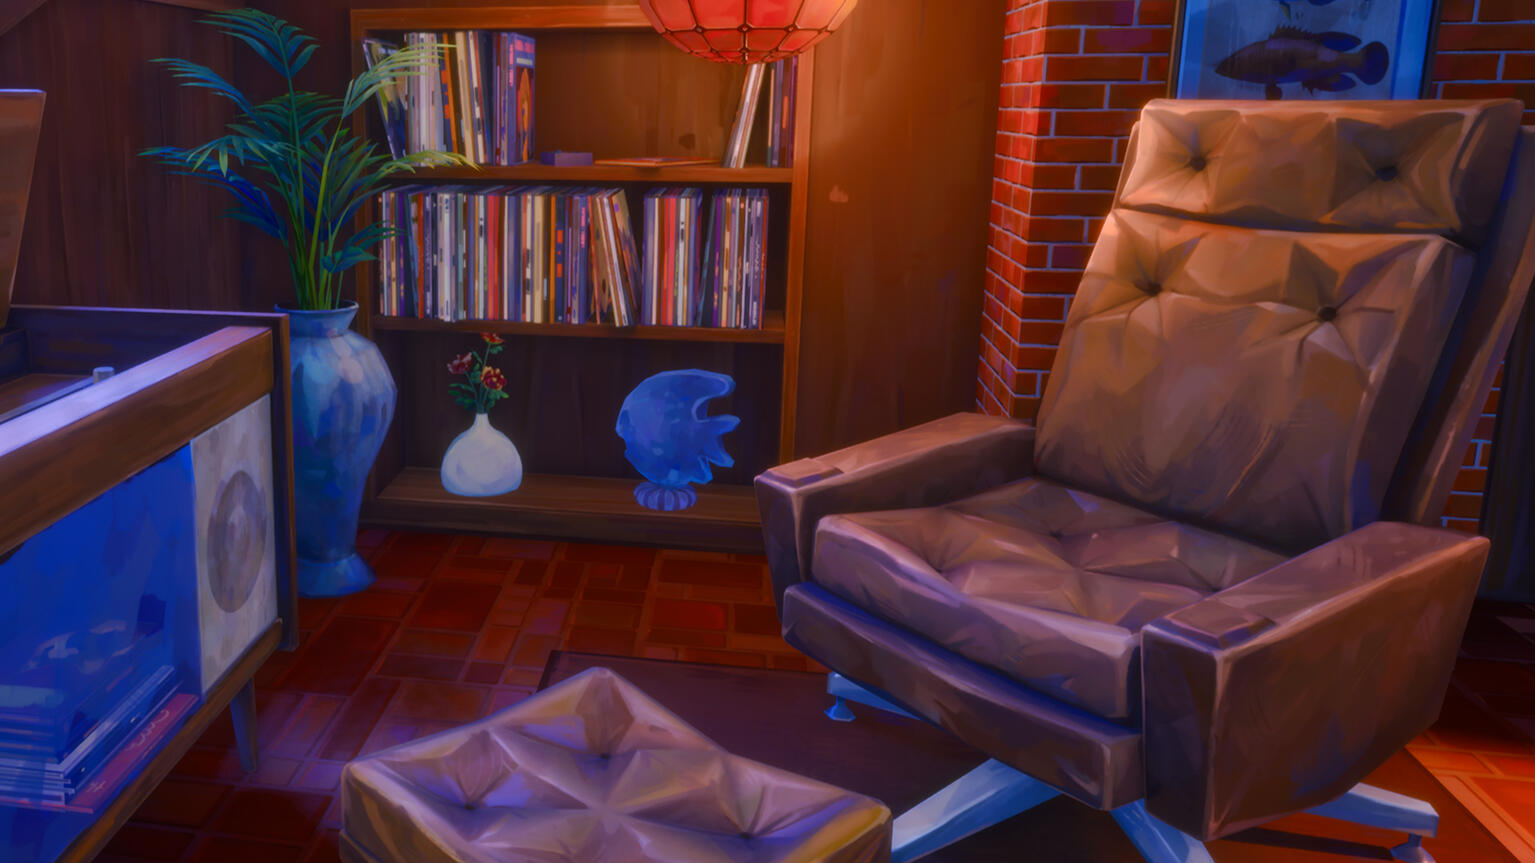
Vinyl Records Corner
I haven't made any big environment in a while. At first, I was just going to do a small diorama. Only the record player cabinet and then some records but I was doing a new personal project anyway might as well just do an interior. This concept was from a prompt generator website (RanGen powered by human!). I got a character who like jazz and samba and also love to visit the aquariums. This is what I came up with.It's a modern 80s home, not a true 80s design because the records are just a mixed genre from different era. I also want to try out a different texturing style. Blocky shapes, saturated colours with low contrast which is quite different from my usual work. The purpose of this project was to train my eyes for a better colour picking and texturing. The models aren't the lowest in polycounts. The hardest part about this whole project is the lighting for someone who works on unlit exclusivelyI focused mainly on the diffuse map as I wanted to highlight the 2D look. Then used that map for the roughness and metallic values. For the normal maps, they are a mixed of hand-painted and the traditional high-low bake workflow.
You could say that this is a hand-painted PBR textures!
Everything is rendered in Unreal Engine 5. Only the unlit with wireframe props were rendered in Marmoset Toolbag


Have you ever played as a diva venturing through danger?

Just keep swimming


Unlit and lighting only views
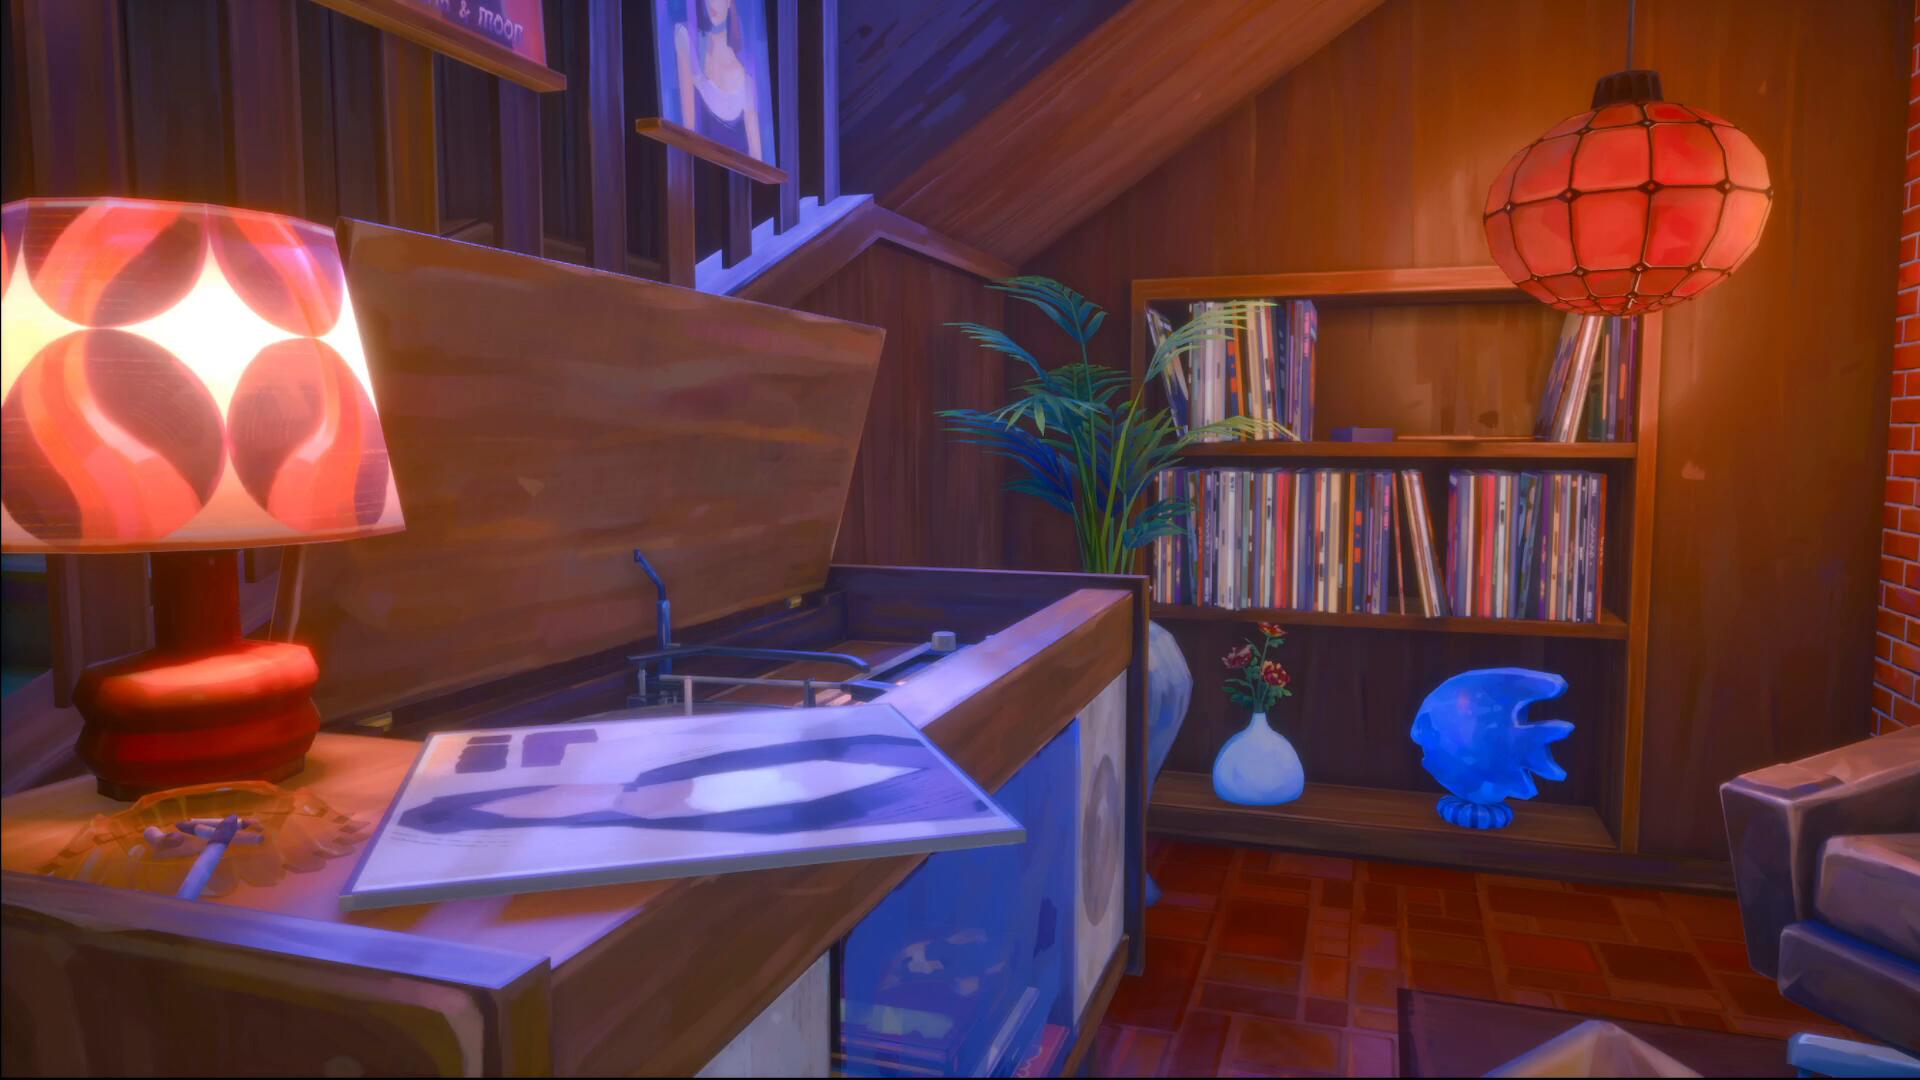
The roughness is quite soft with the final lighting even the map is strong


I also made the back of these vinyls so I can shuffle things around easily


The record player and the control panel were my favourite thing that I made


The woodplanks and brick normal maps are hand-painted. I kept it quite simple this time


The roughness, AO, and metallic maps are packed together for unreal in the end. Didn't dig the old materials that much so I decided to update some of the materials

I based the rose texture on my real rose from my garden. I was going to add some more roses but sadly the vase was small
From blockout to finished environment. I was going back and forth between texturing and lighting
Hand-Painted Brooch
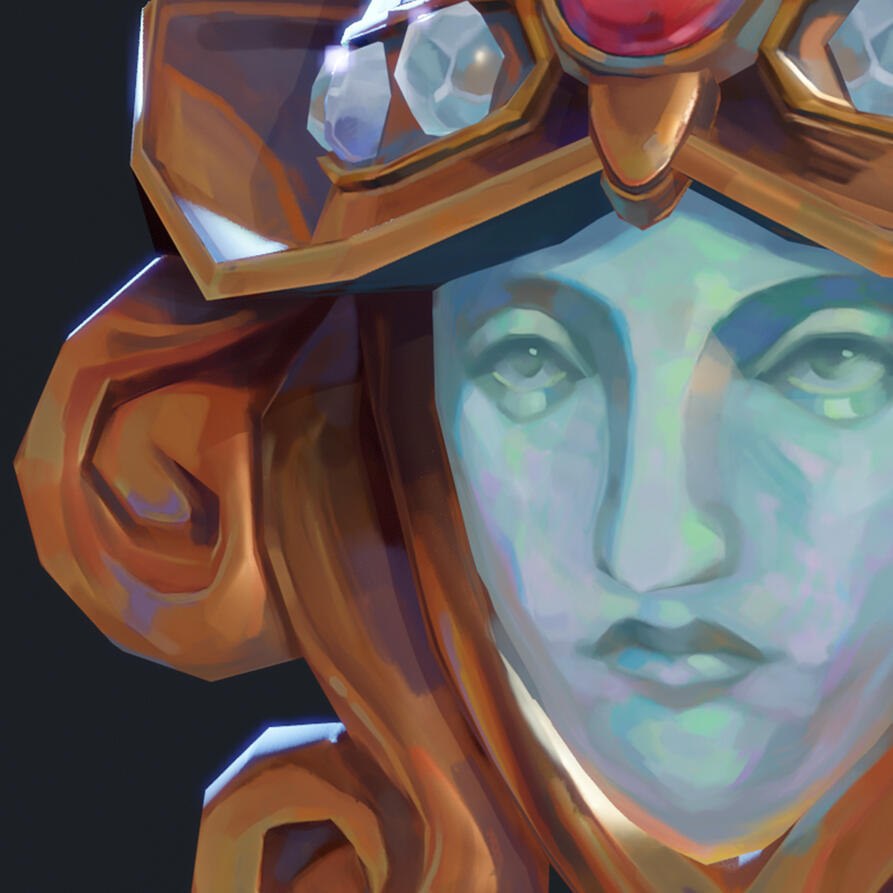
This project started off when I was researching something for work and this art piece by Wilhelm Lucas Von Cranach caught my attention. I wanted this to be just a short project where I can finish it during the weekends and I did yay! I bought 3DCoat recently and this is such a good opportunity to learn it. I'm still not accustomed to the software. Blocking colours was done in 3D Coat and then primarily painting in Photoshop as usual. No normal map details on this. Just the diffuse map and ORM maps for some extra shines!
Rendered in Marmoset Toolbag


I painted everything in unlit from the start. Roughly painted in 3DCoat then added all the details in Photoshop.
Lastly, polishing the final details in 3DCoat


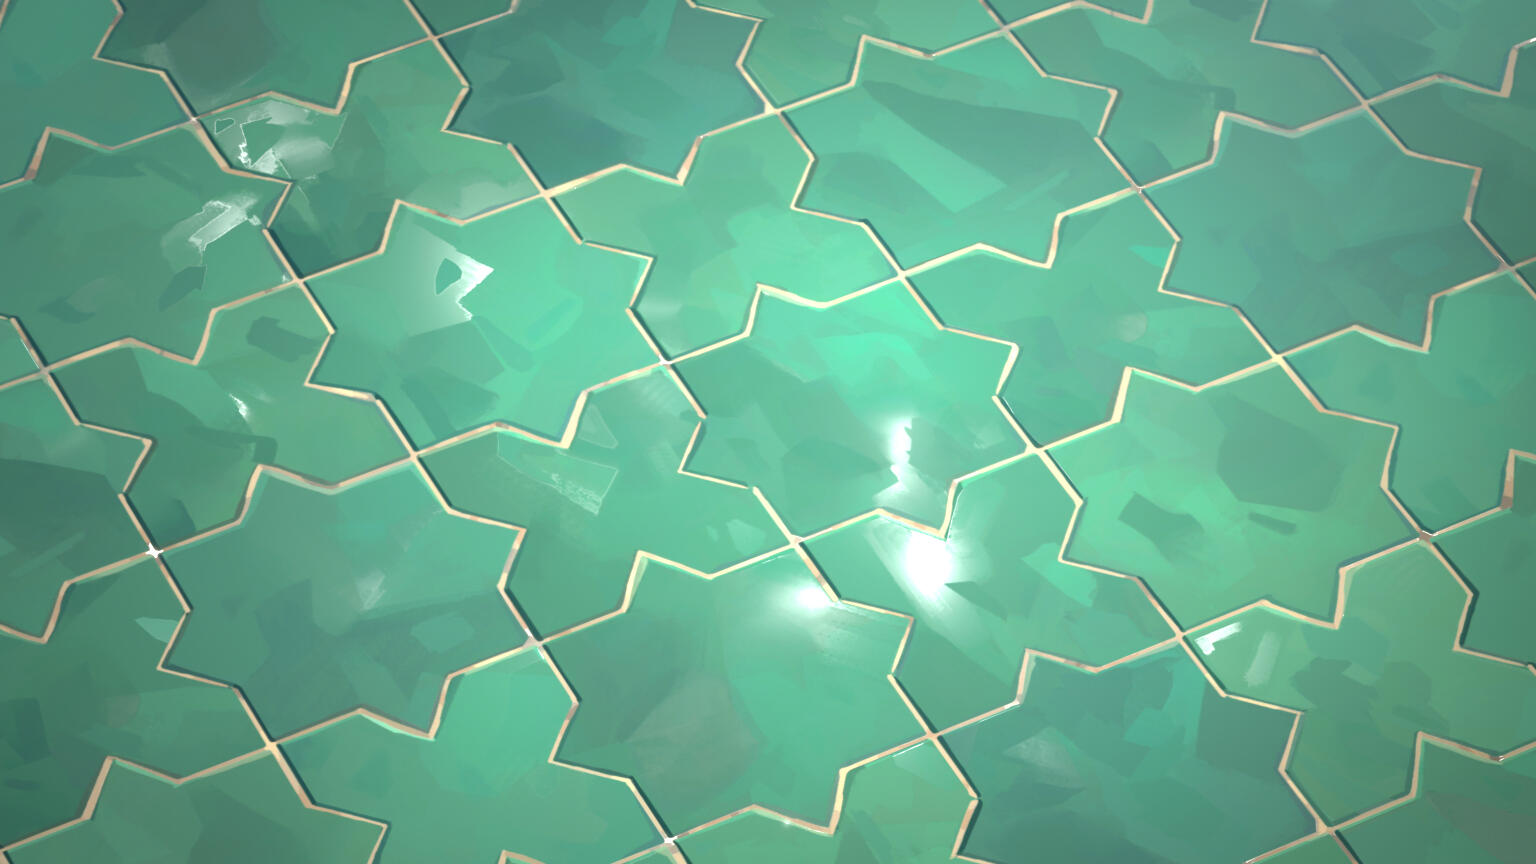
Arcane Inspired PBR Zellige Tiles
The hand-painted normal map's journey is still going strong! I didn't get to make any glazed tiles last time. So this time I tried to do it in the Arcane style. As usual, this started from painting the normal map and used that as a base for every other maps.


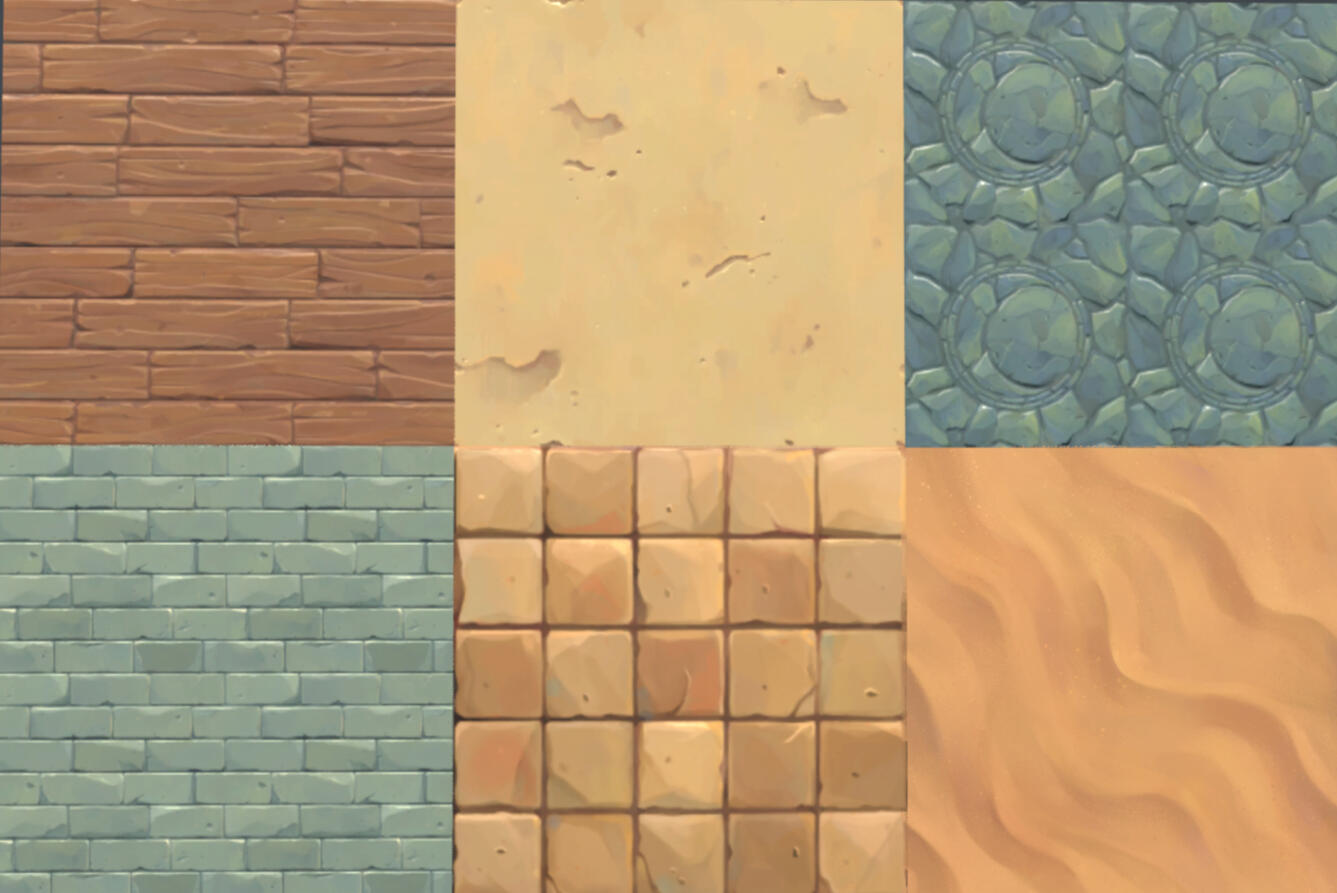
The Hand-painted PBR Materials
I decided to make some stylised PBR materials by painting the normal maps first. Everything was done in Photoshop and rendered in Unreal Engine 5. The only exception was the wood material which I sculpted in Zbrush and painted some small details in PS later on. This whole process was inspired by Romain Durand's work.


Only this wood material that started from a sculpt and baked with Xnormals.
Since I started working only on hand-painted textures and low-poly models, I haven't touched Zbrush for ages.
I thought it'd be nice if I made one material the traditional way.

The sandstone tiles and the sand were the first materials I've done this way. I was still confused about the whole process. Glad that I didn't give up


Blending two materials by using vertex colour
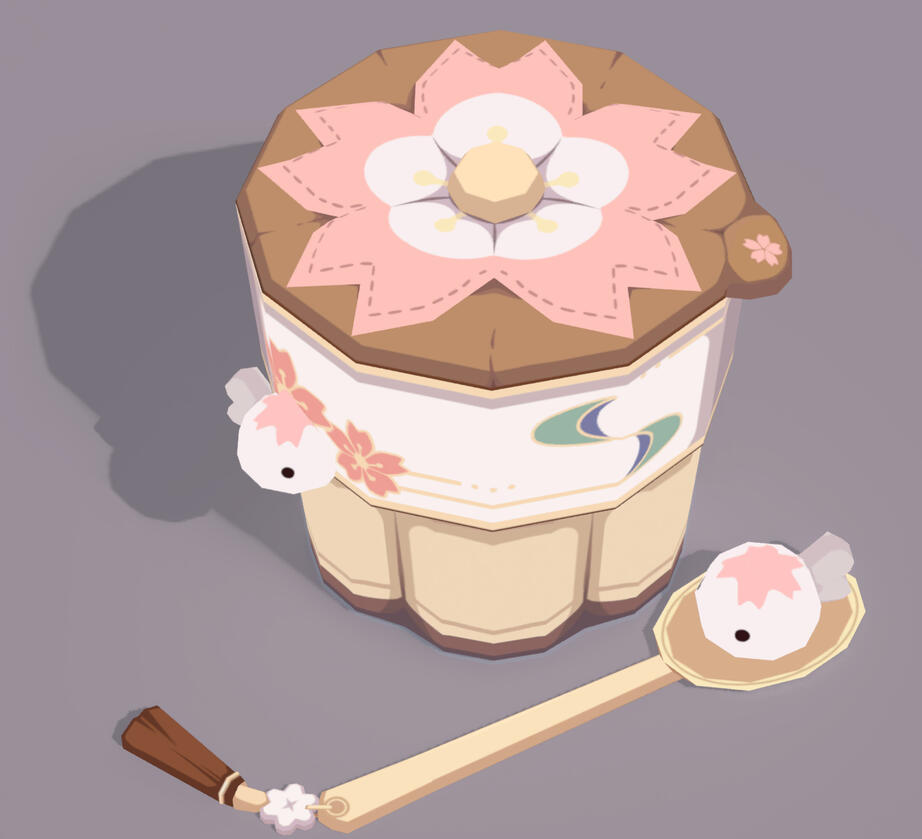
A pudding cup based on an illustration by Stellateart on Twitter. I decided to model this Prop in Blender to learn the software.


The Wizard's Haven
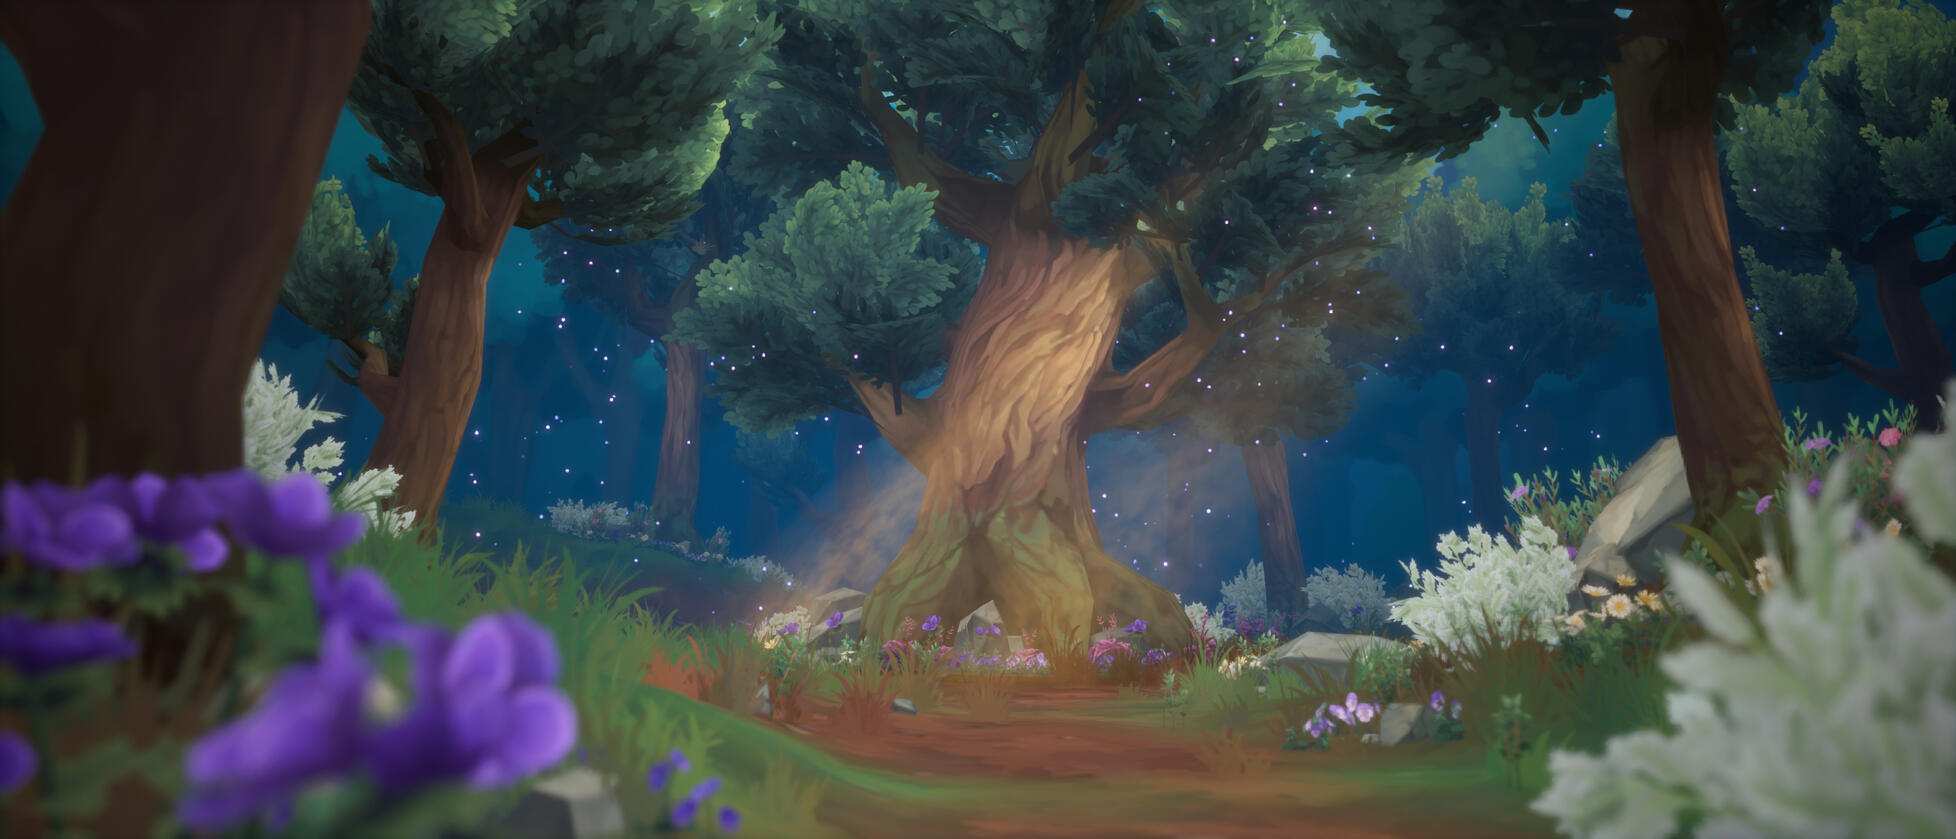
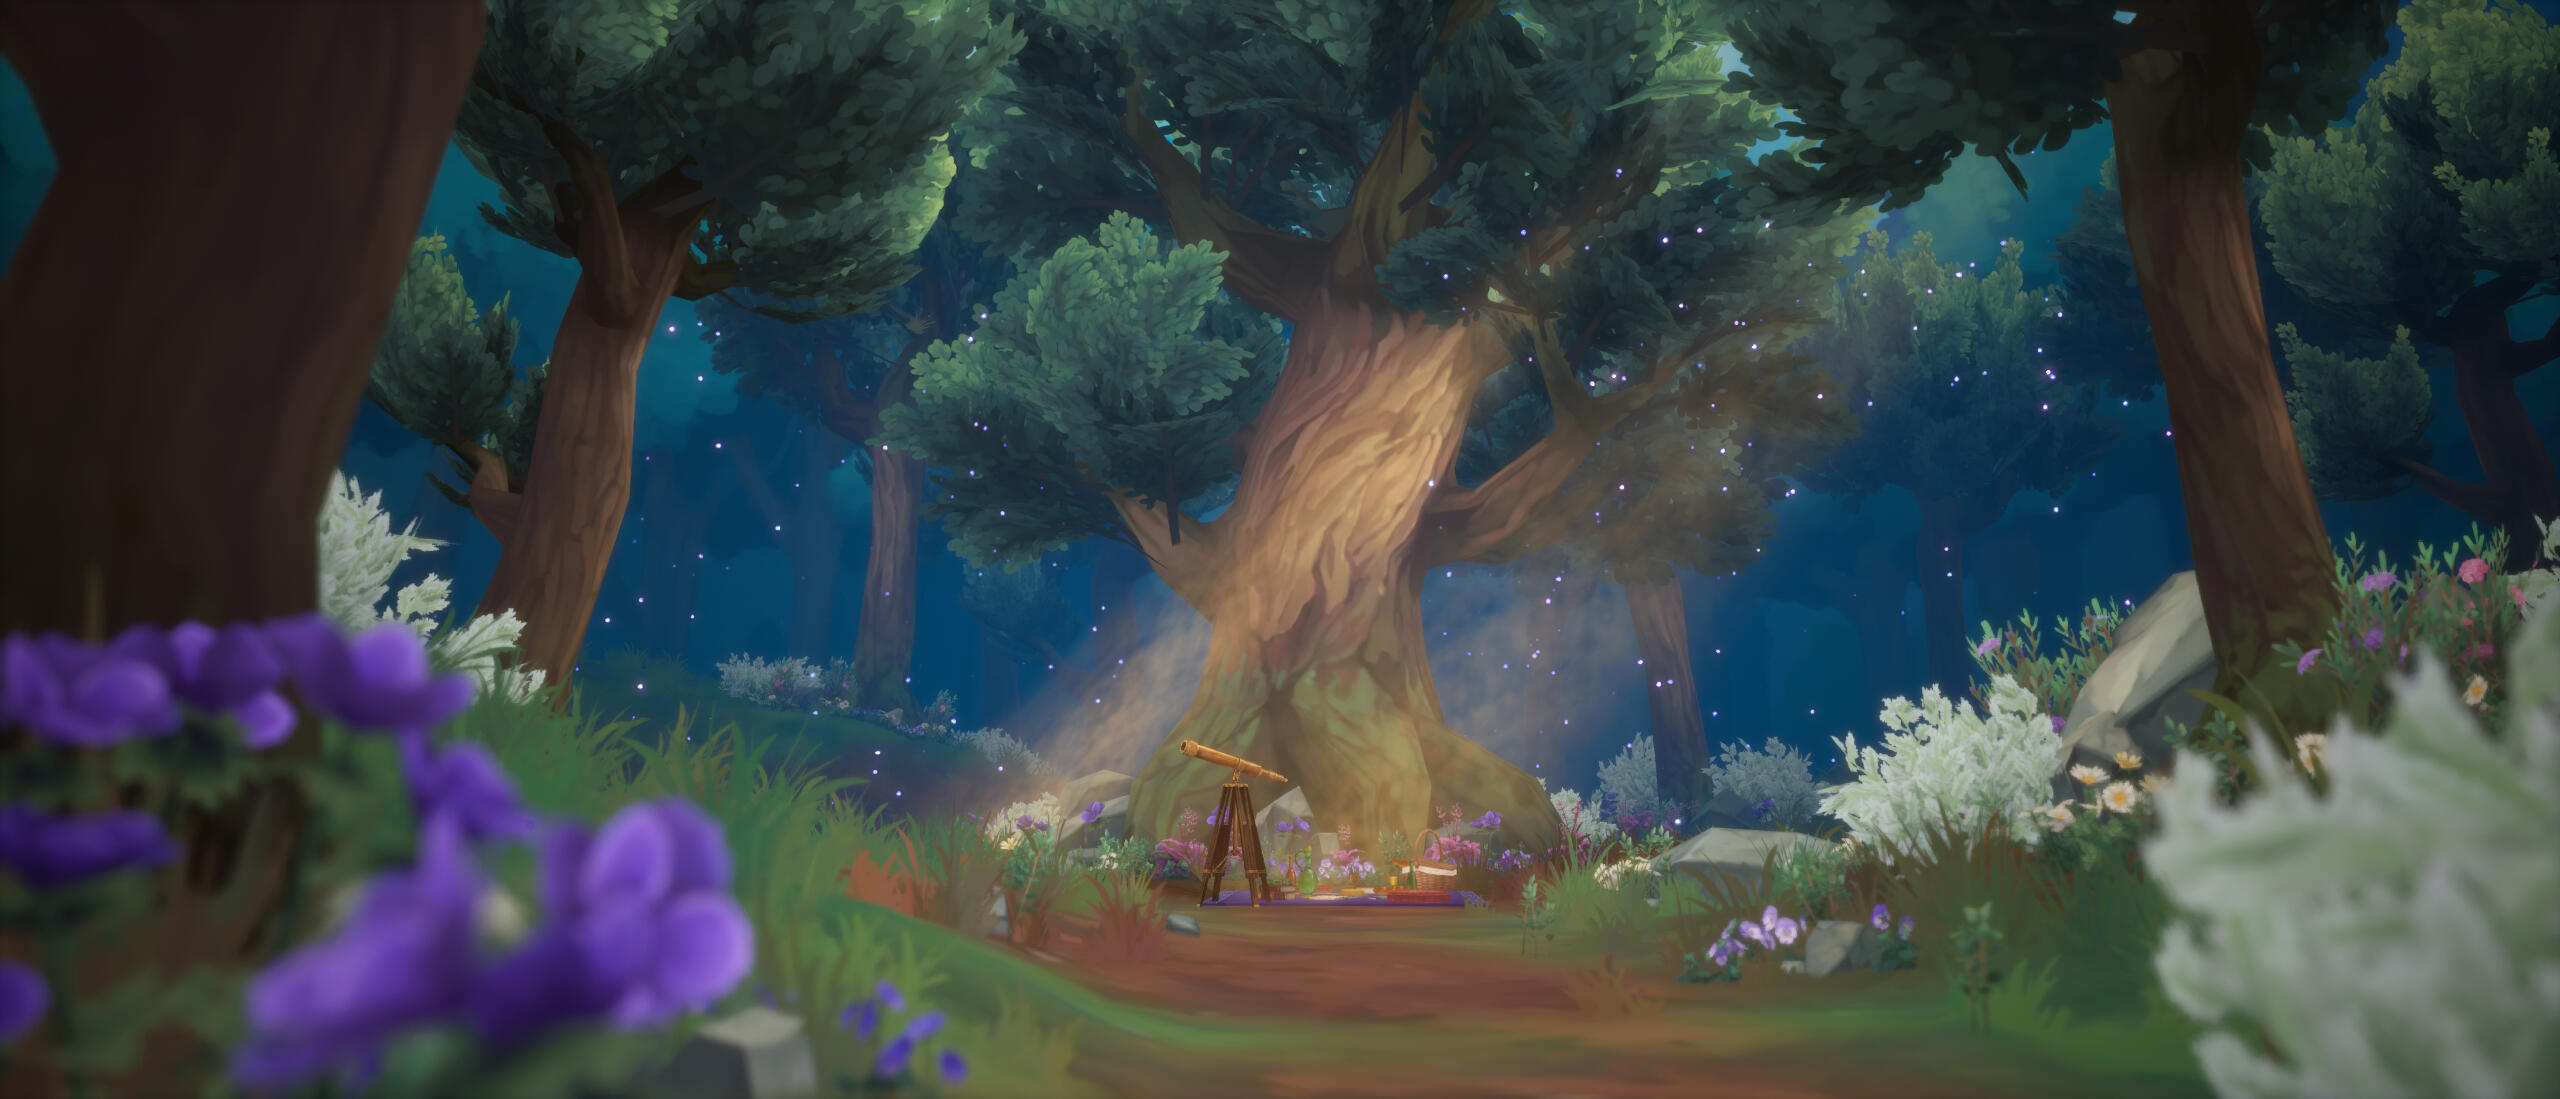
A personal project that focused on creating foliage and telling a story. I didn't have any concept art for this piece at all.
My sole inspiration for this project was a place for a wizard to have a picnic with a sweetheart after a long adventure.
Somehow this part of the forest is enchanted with magic ✧✧
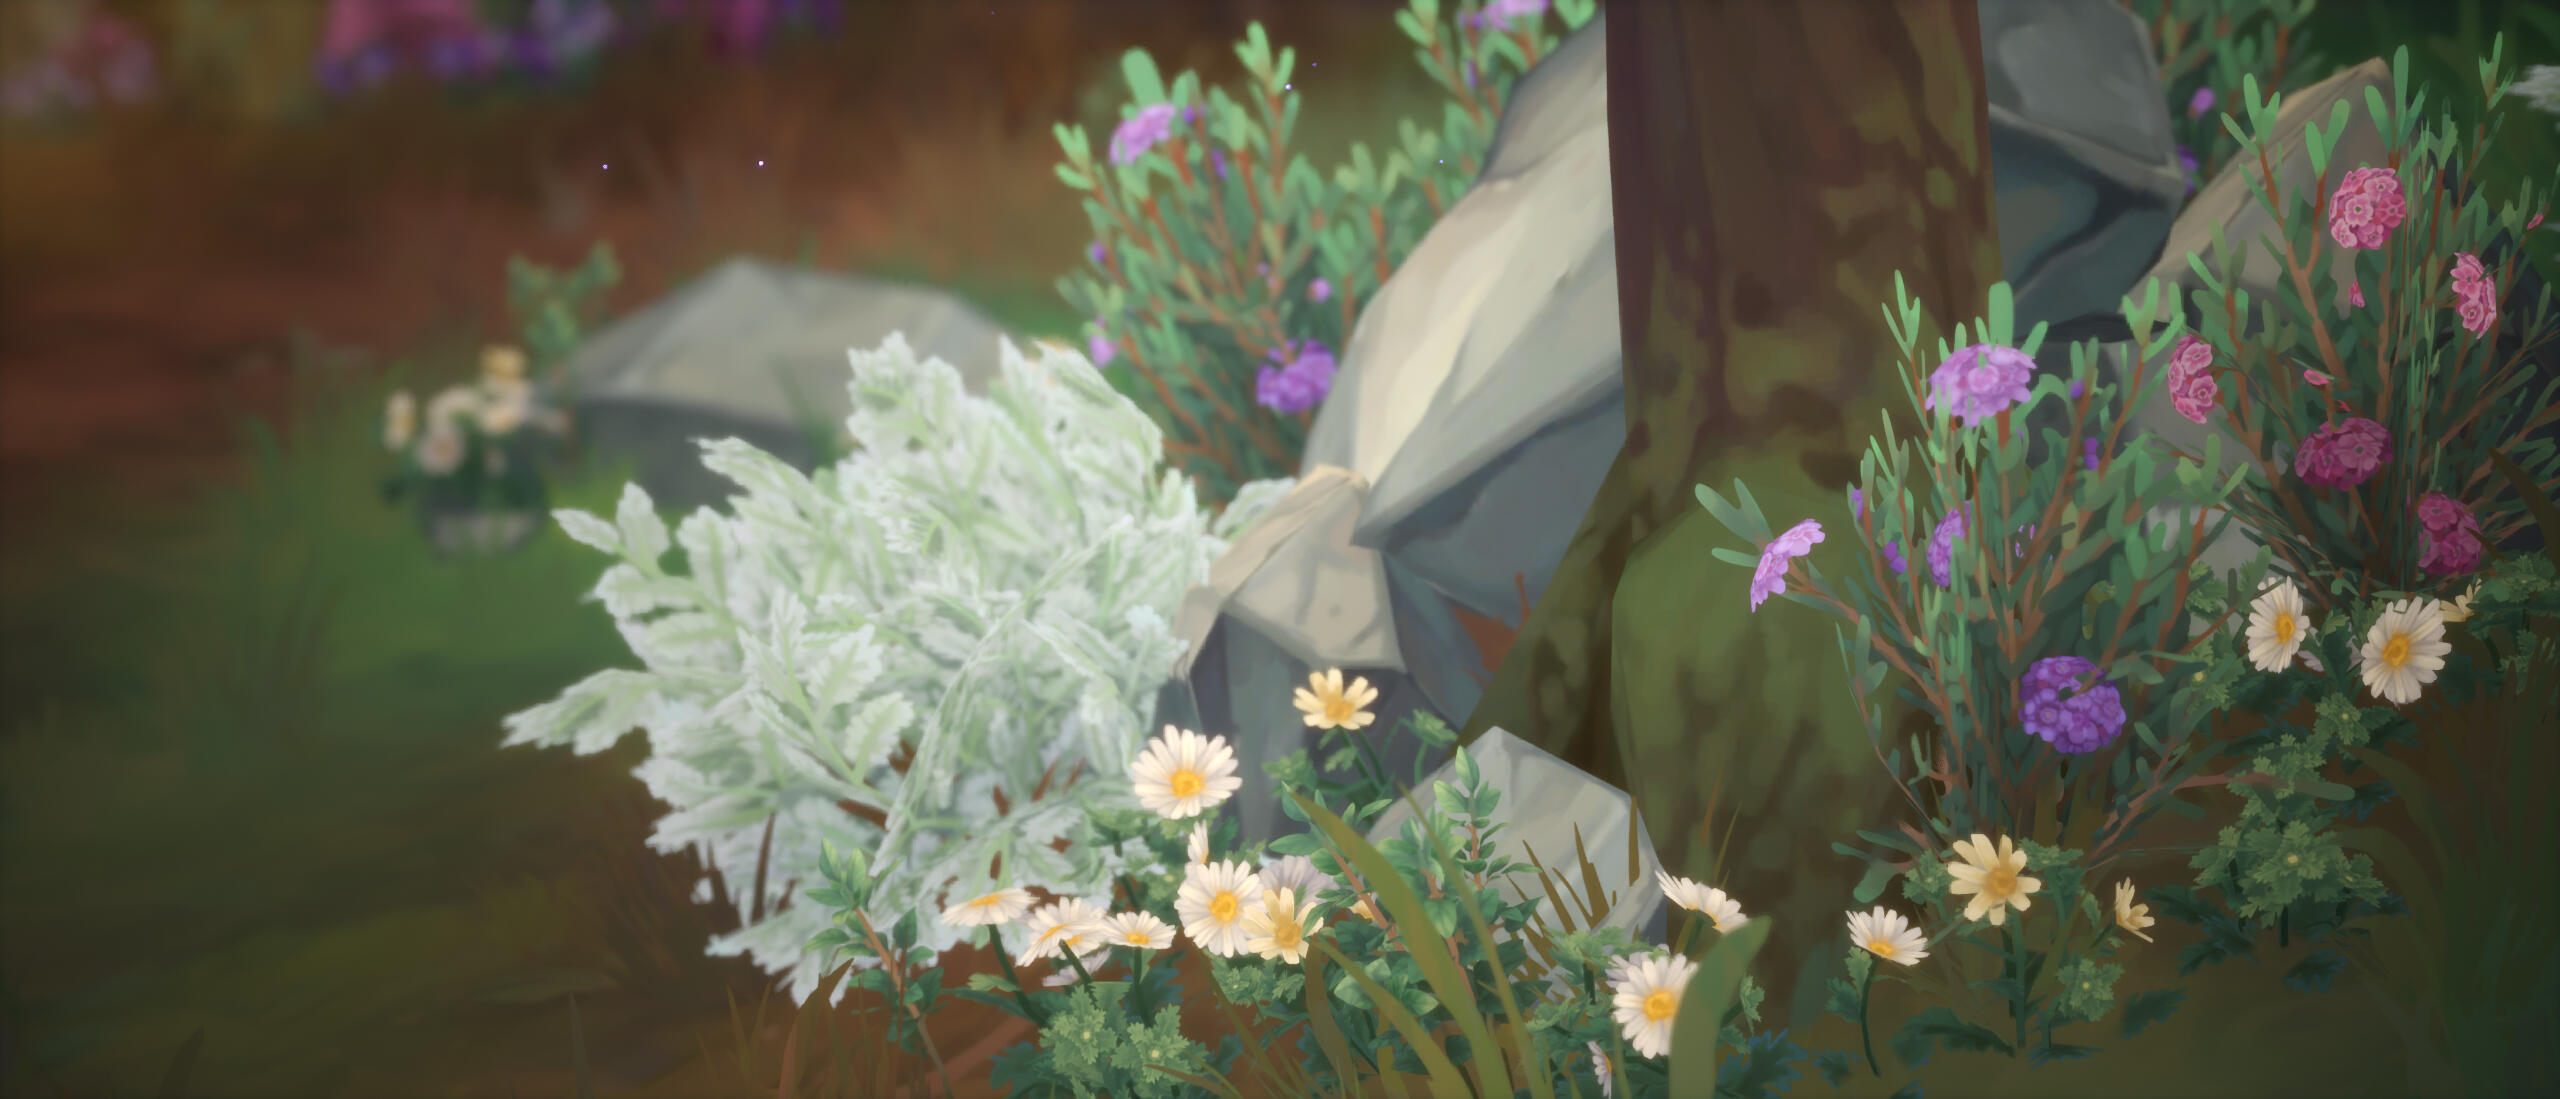
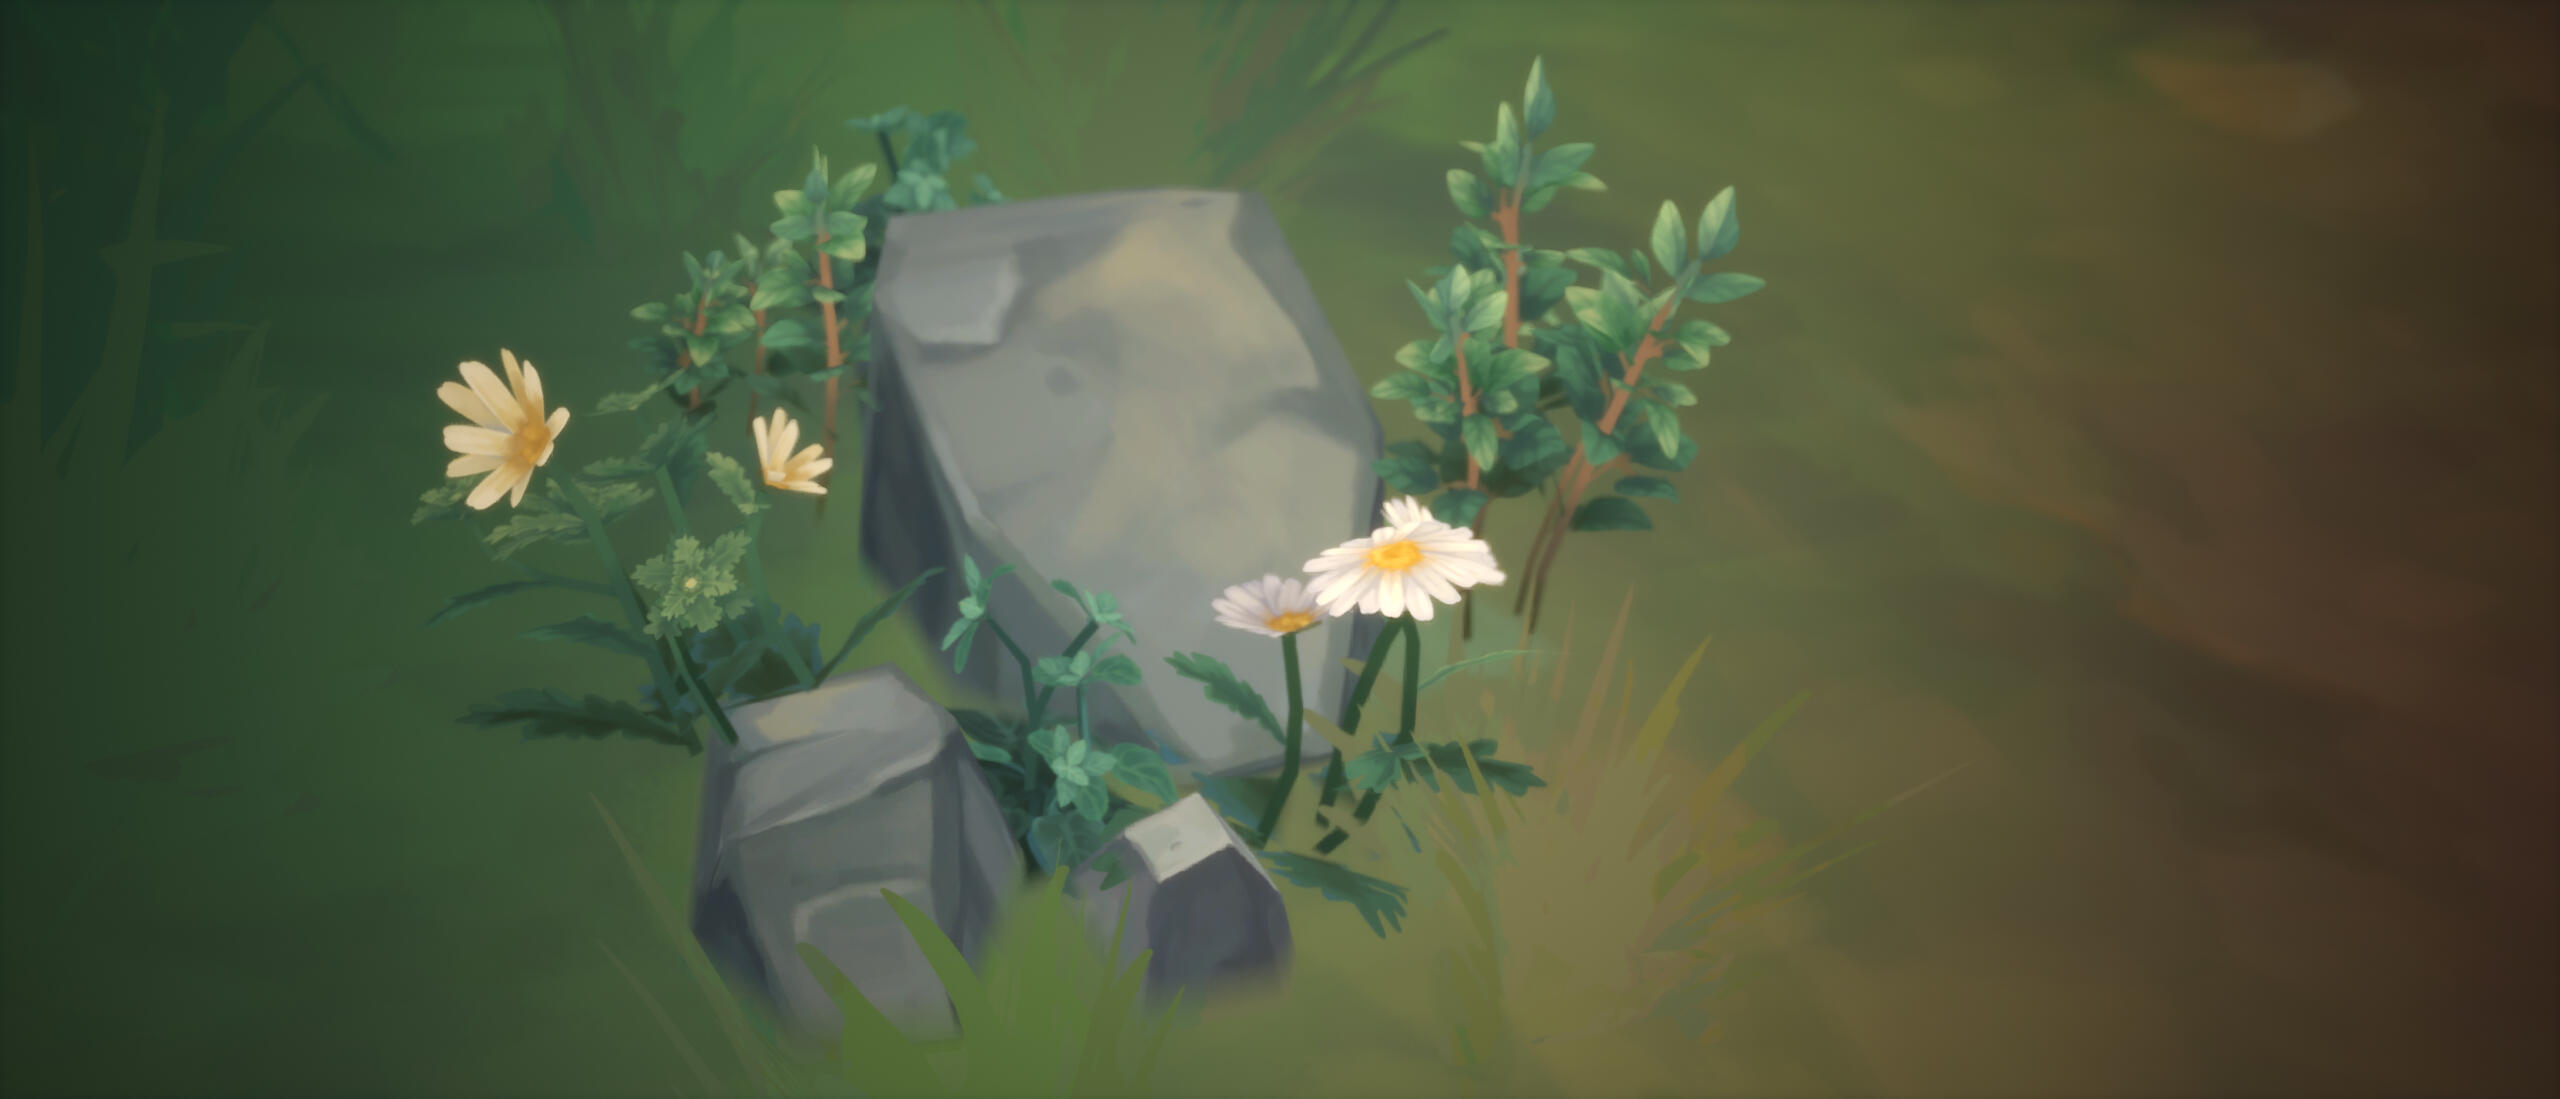
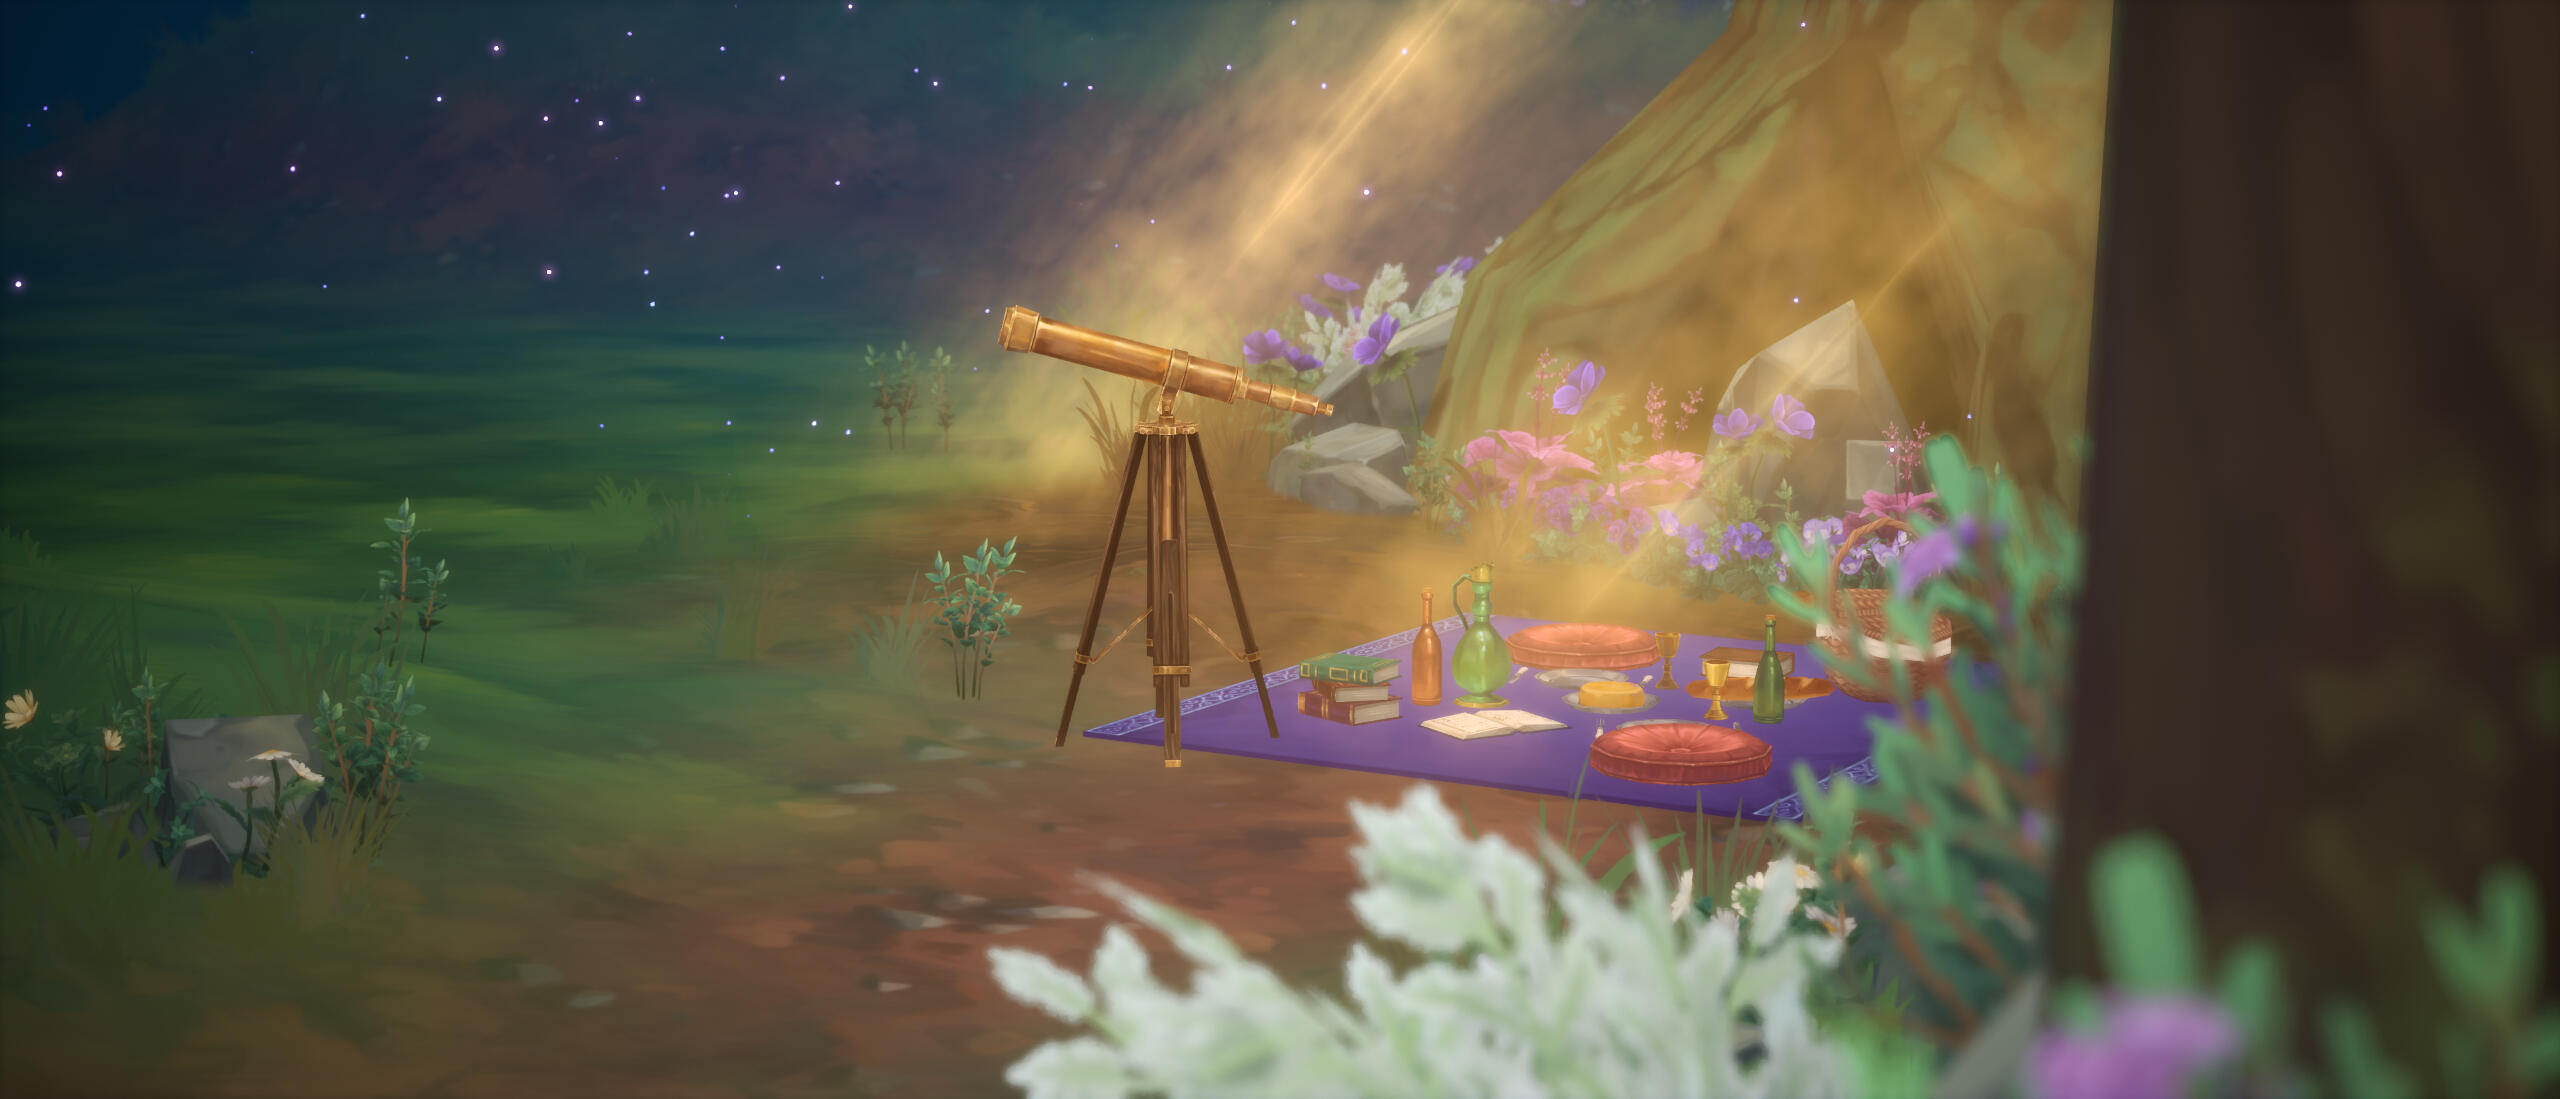
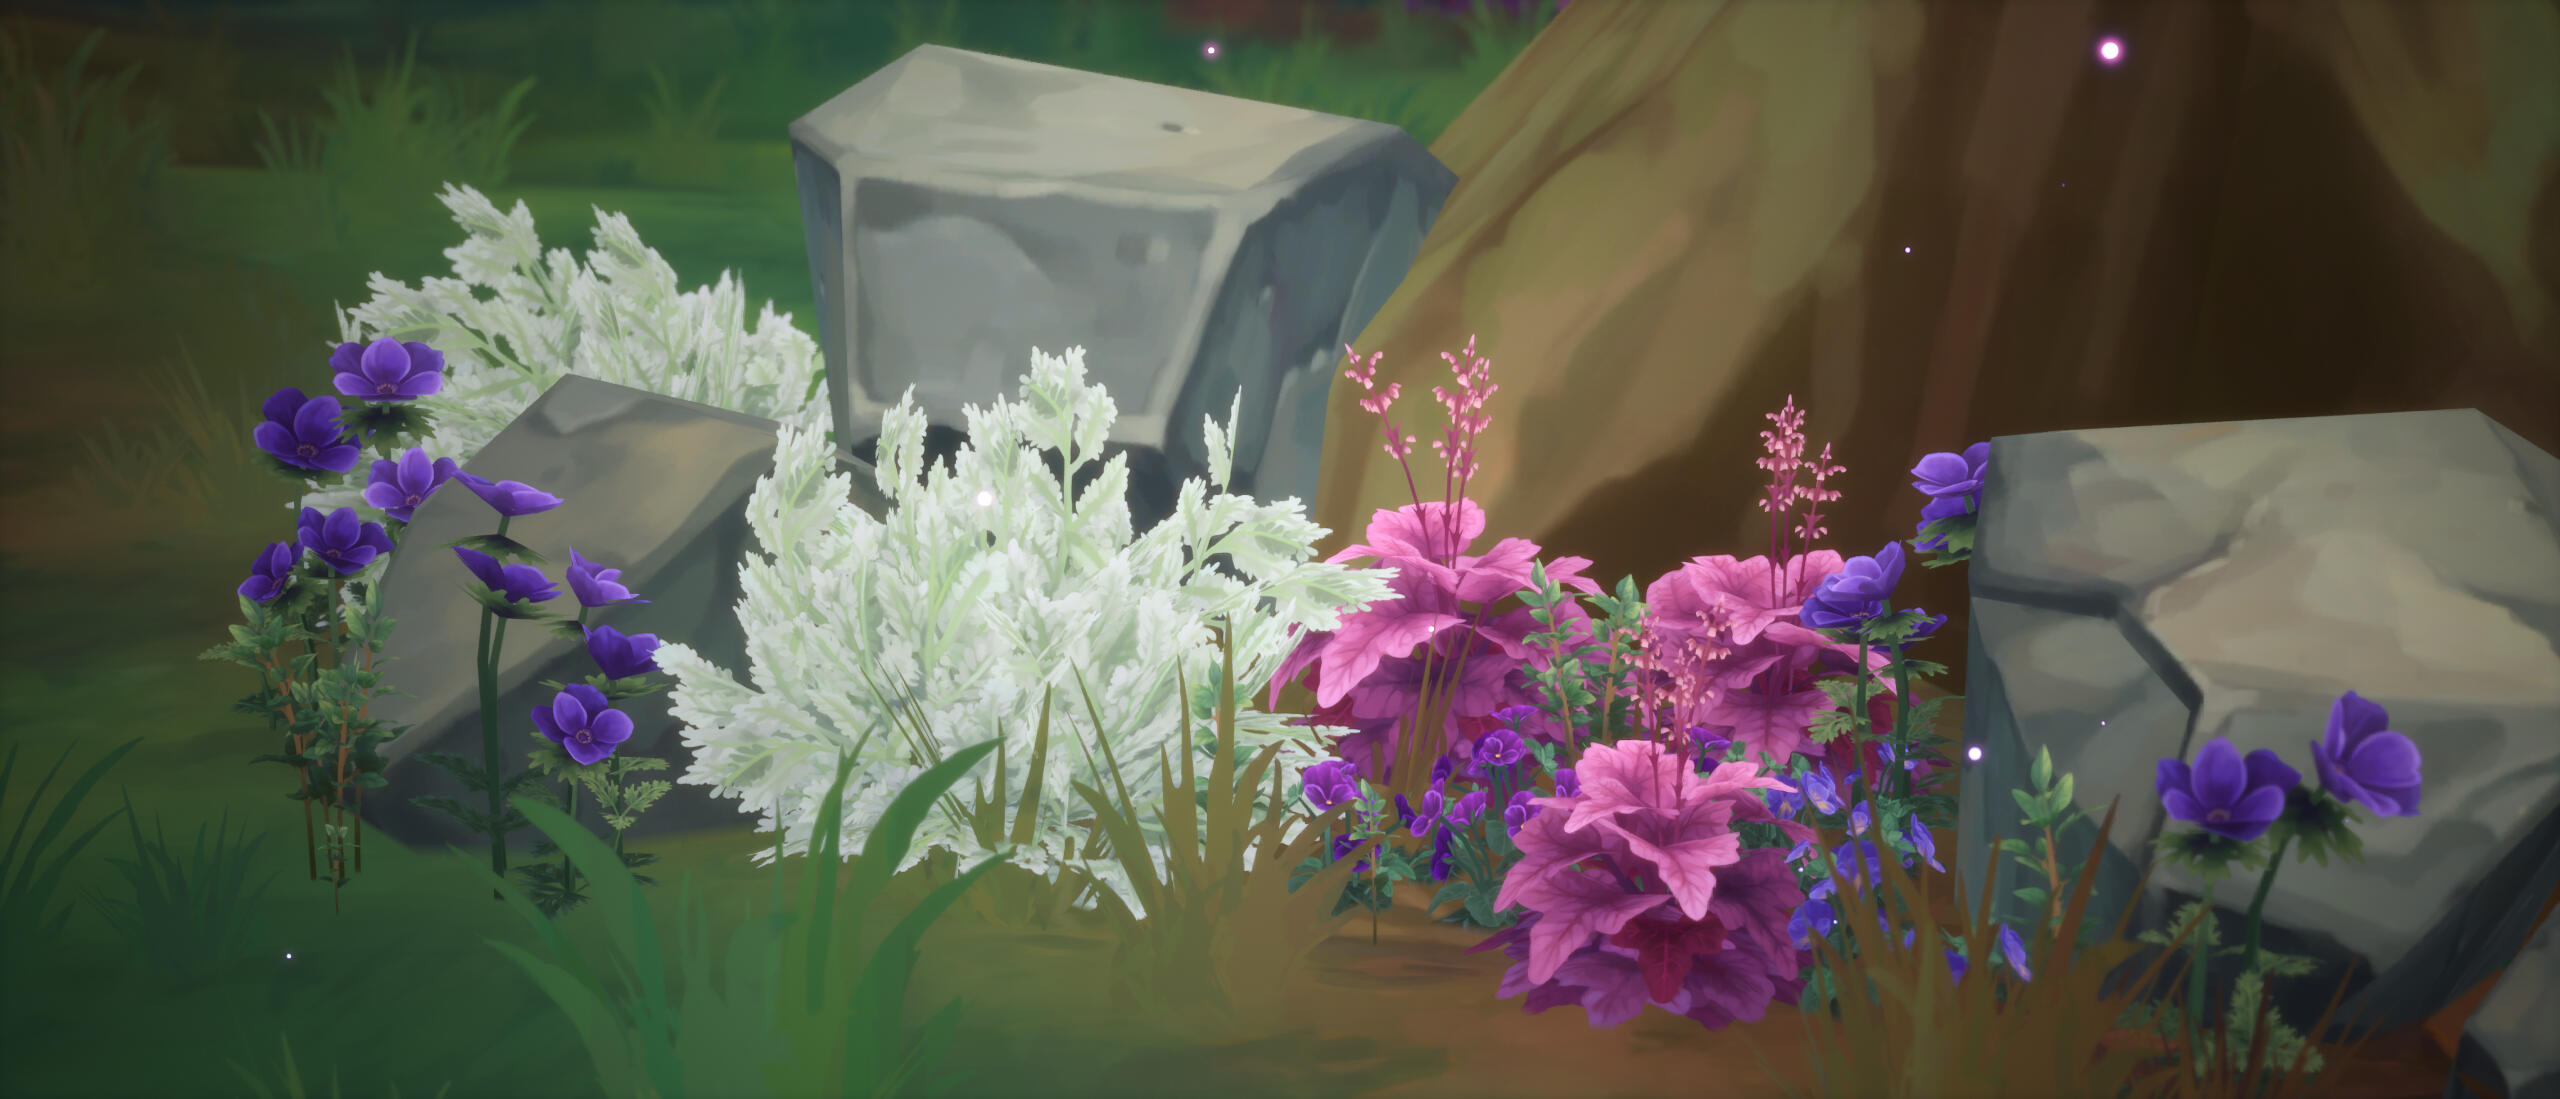
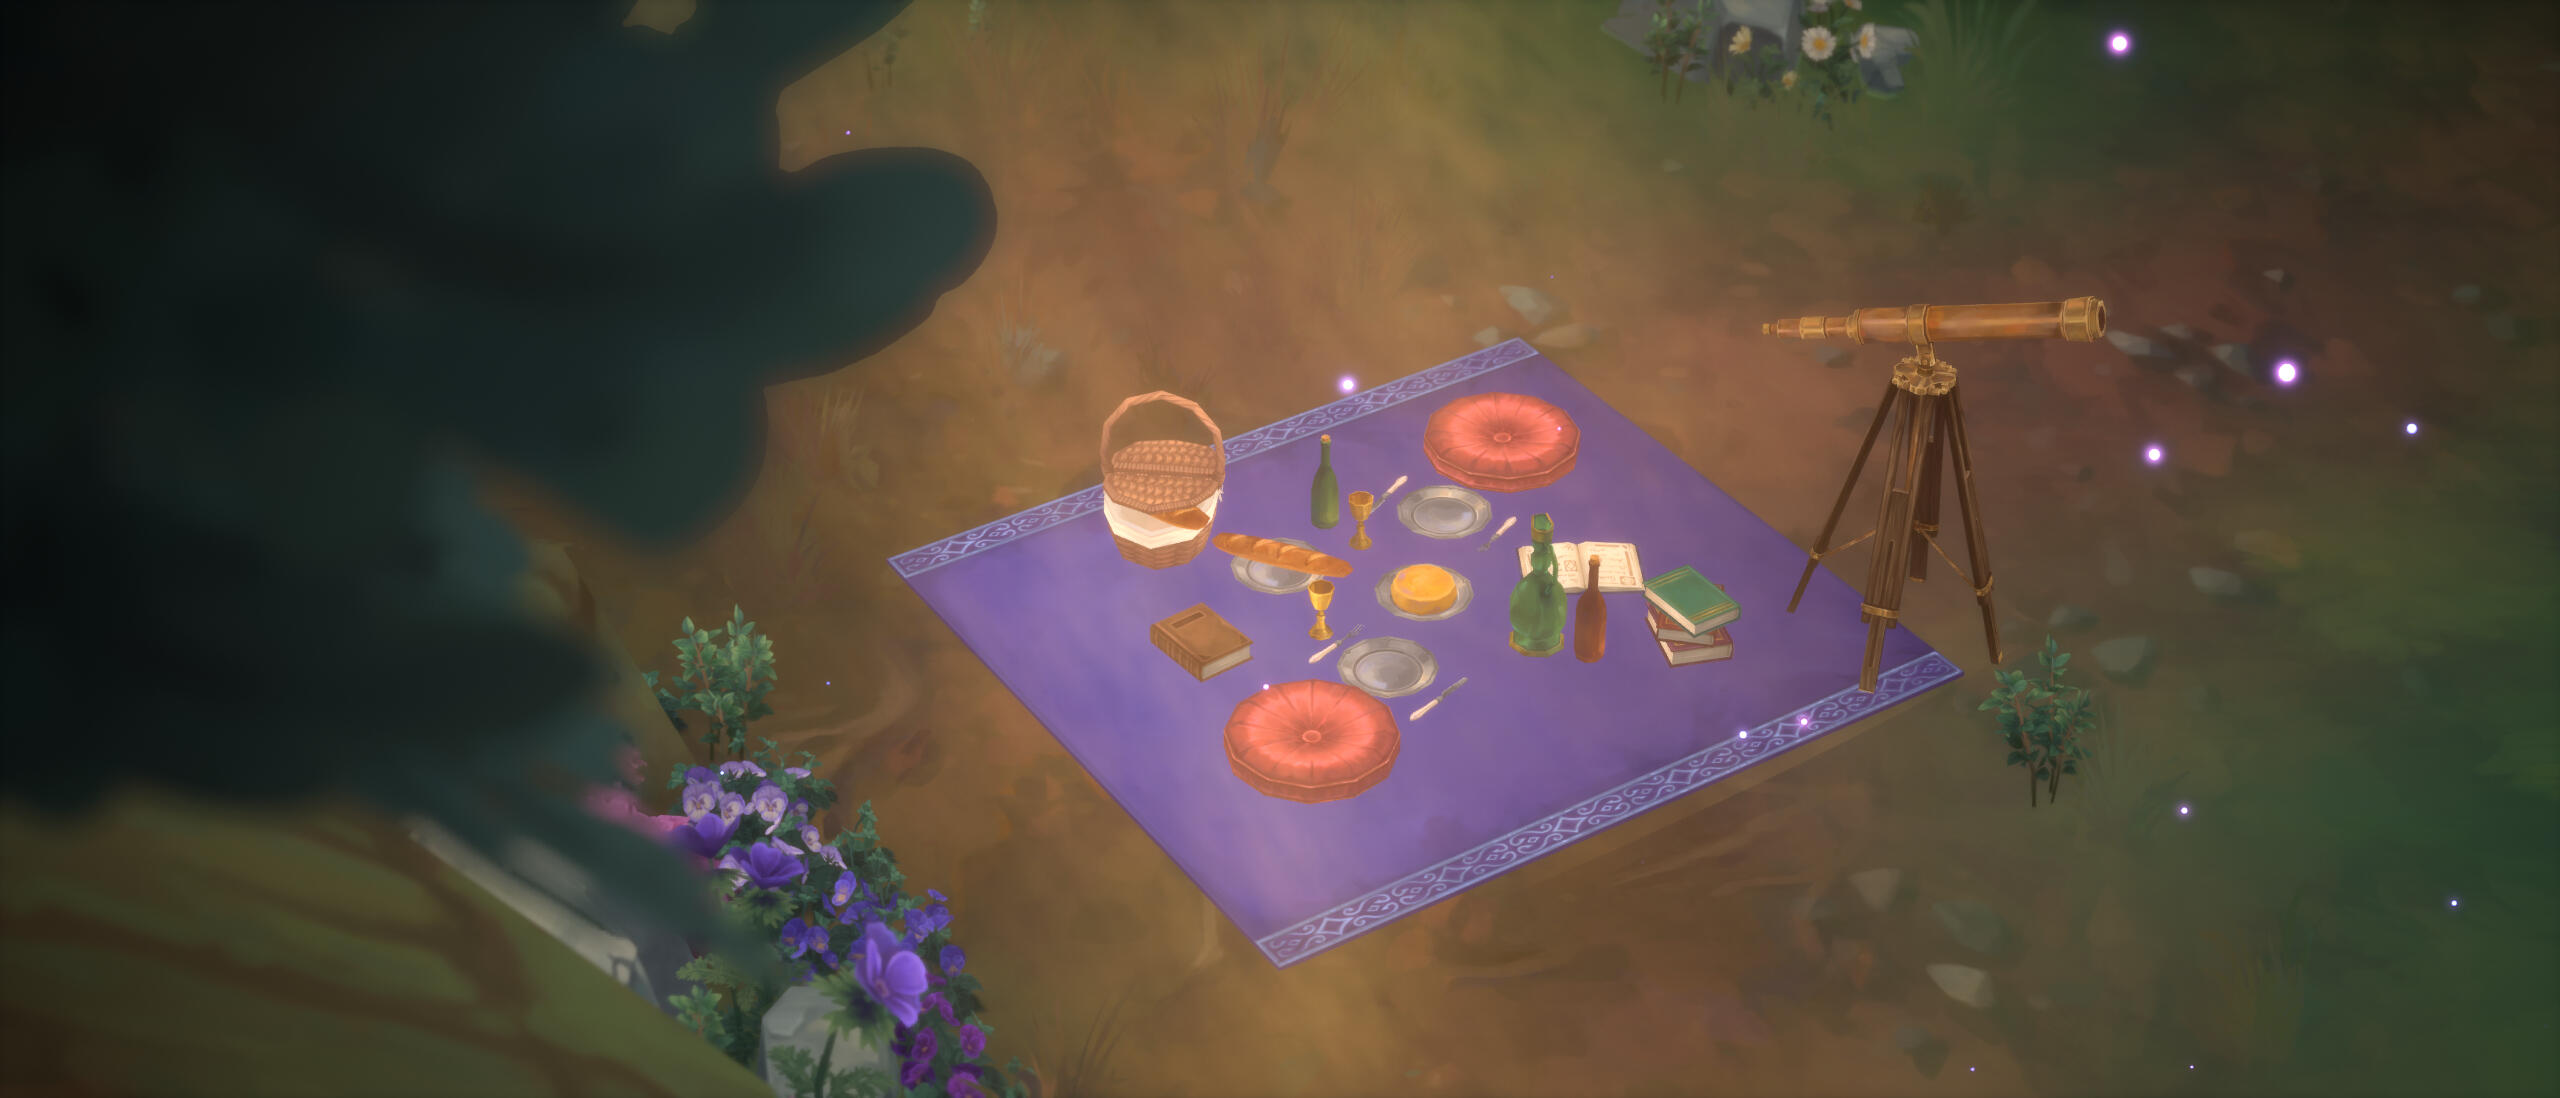
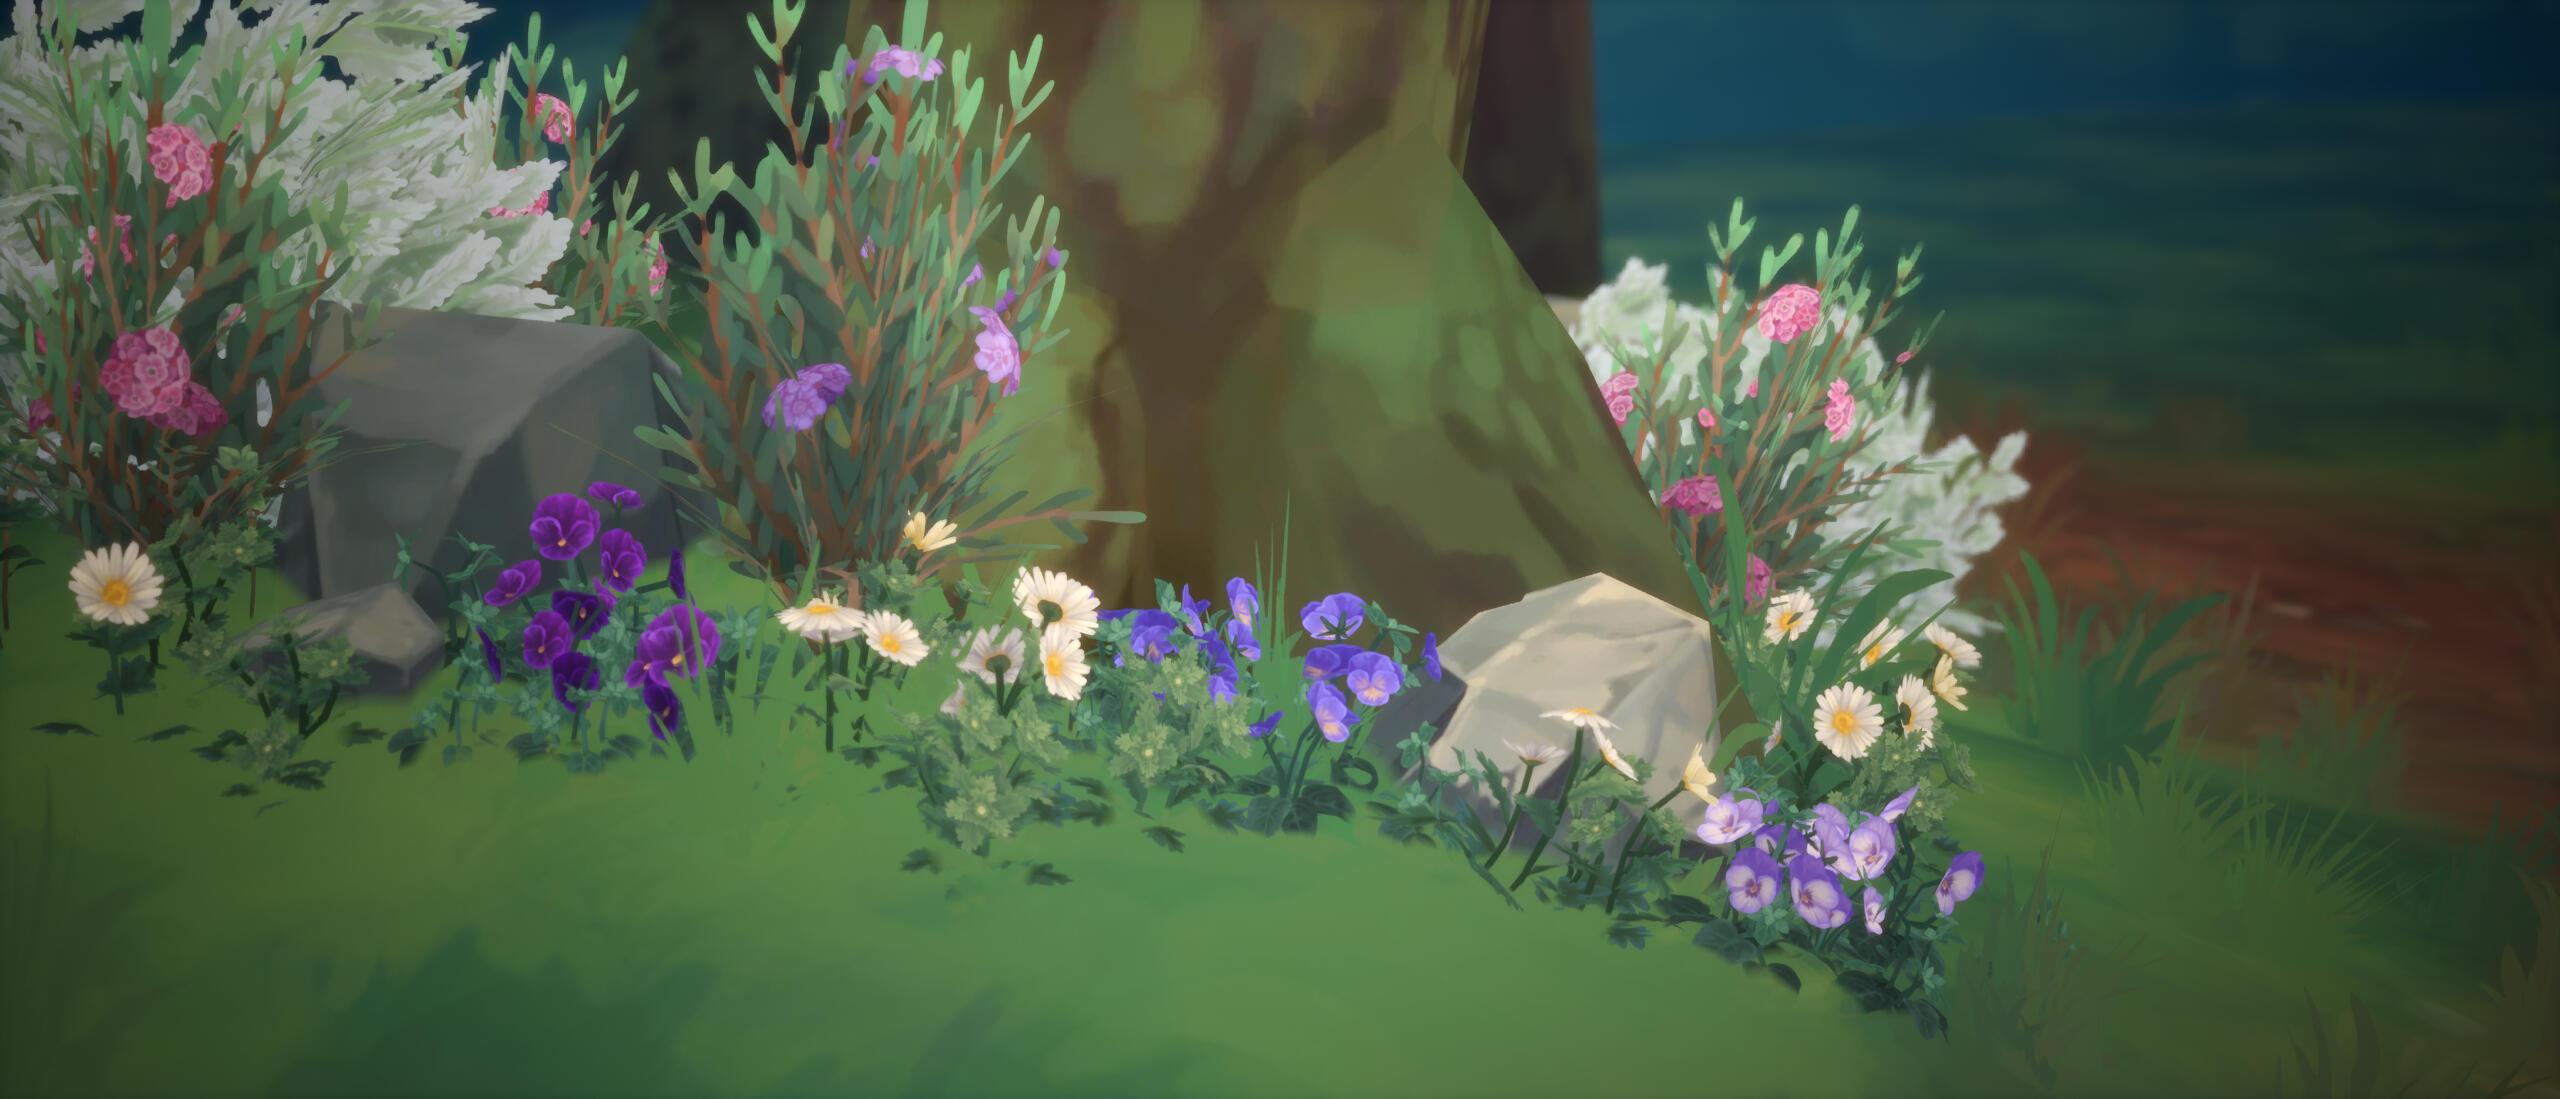
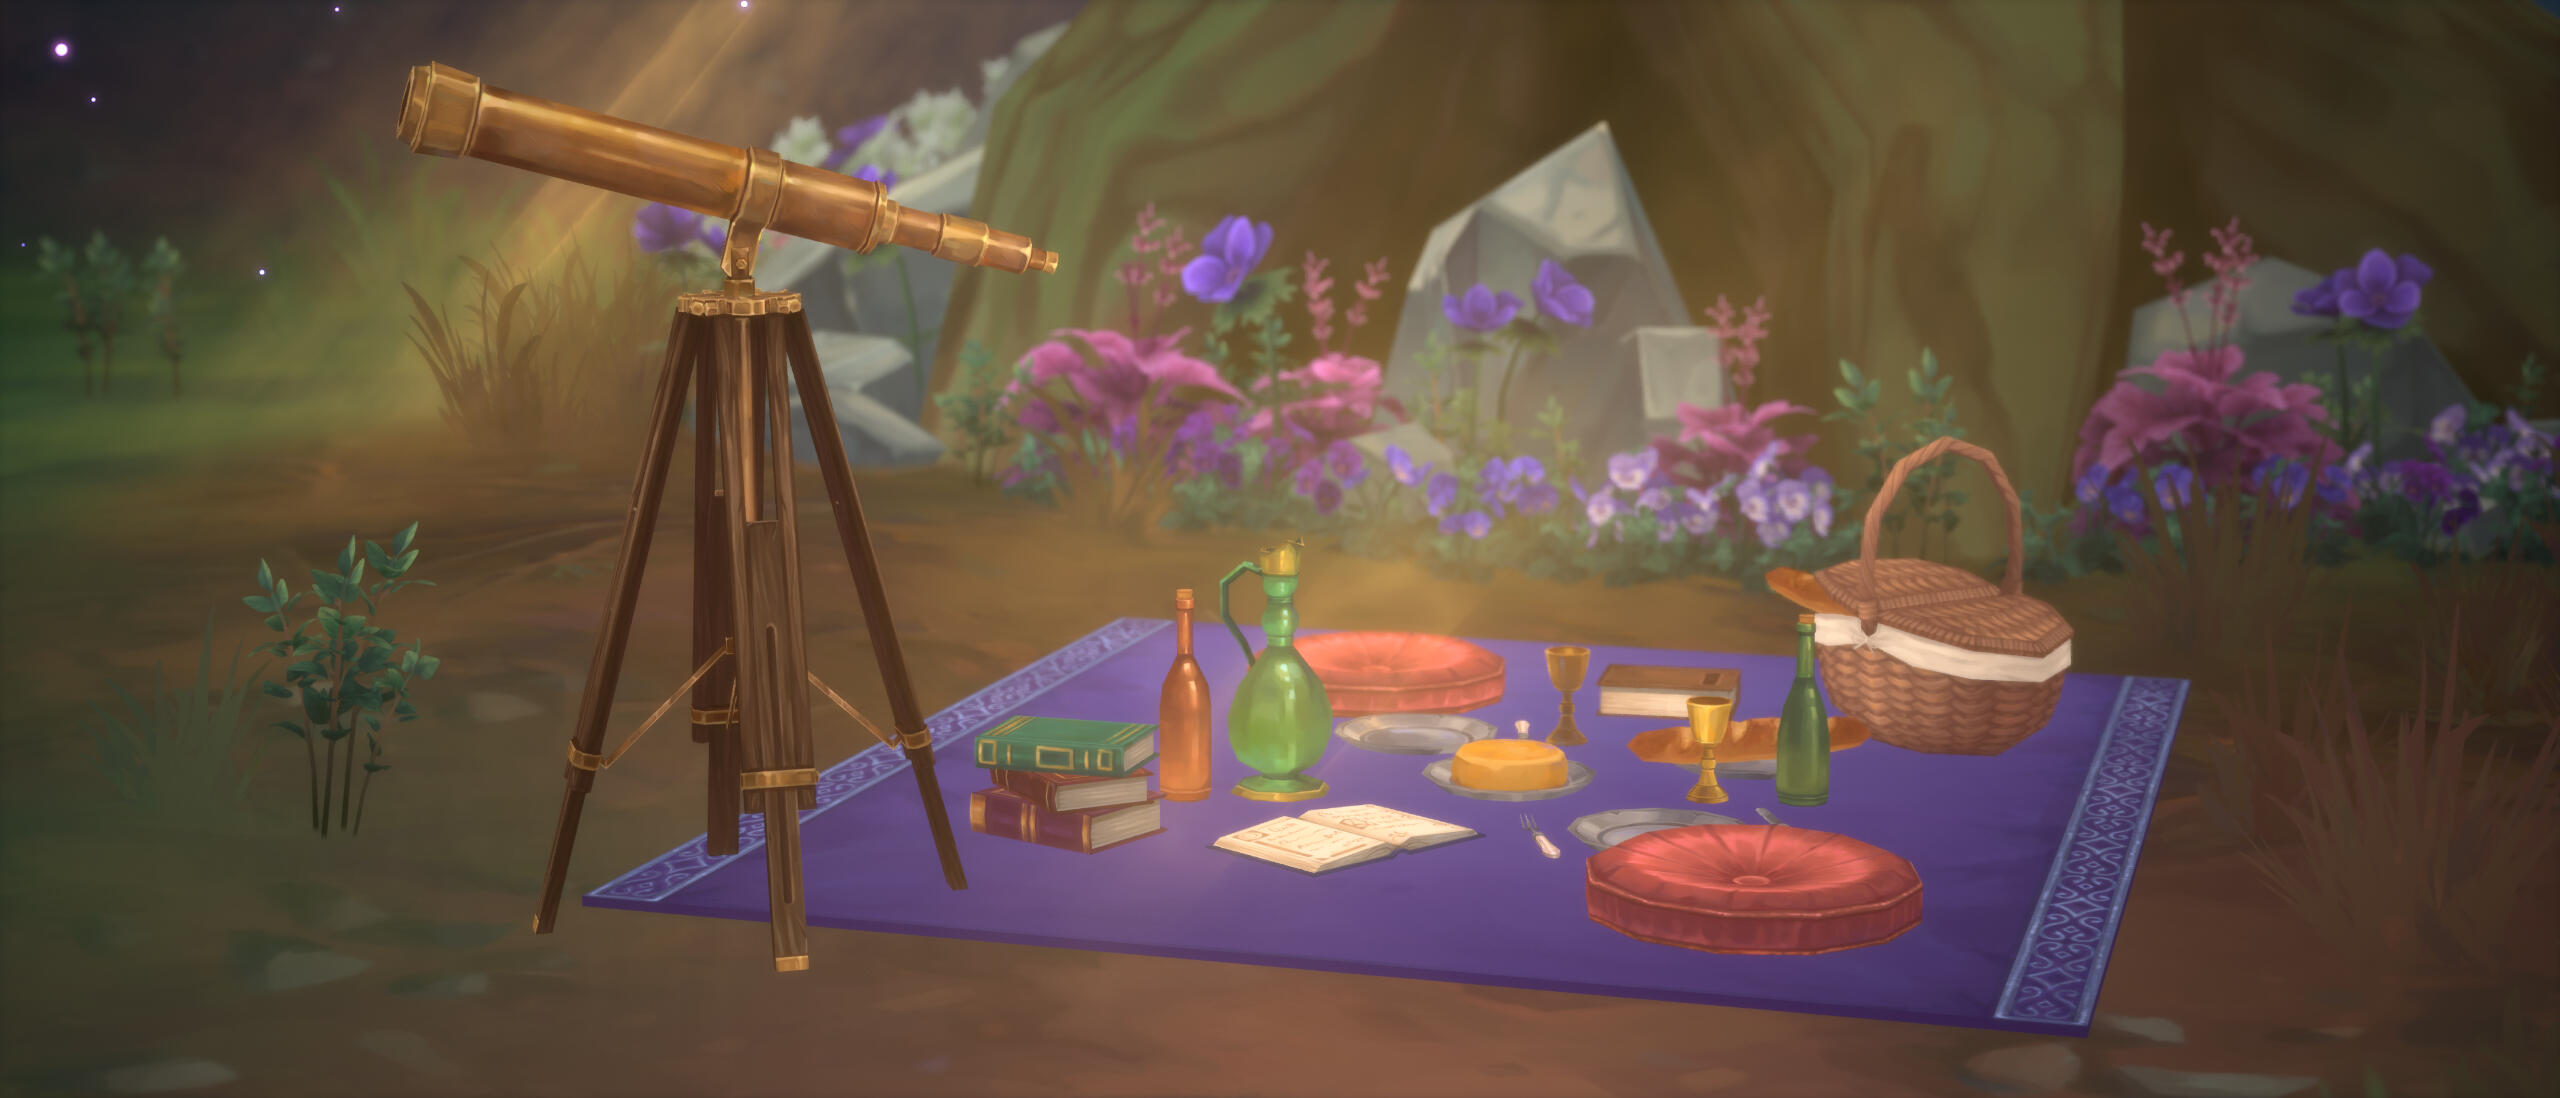
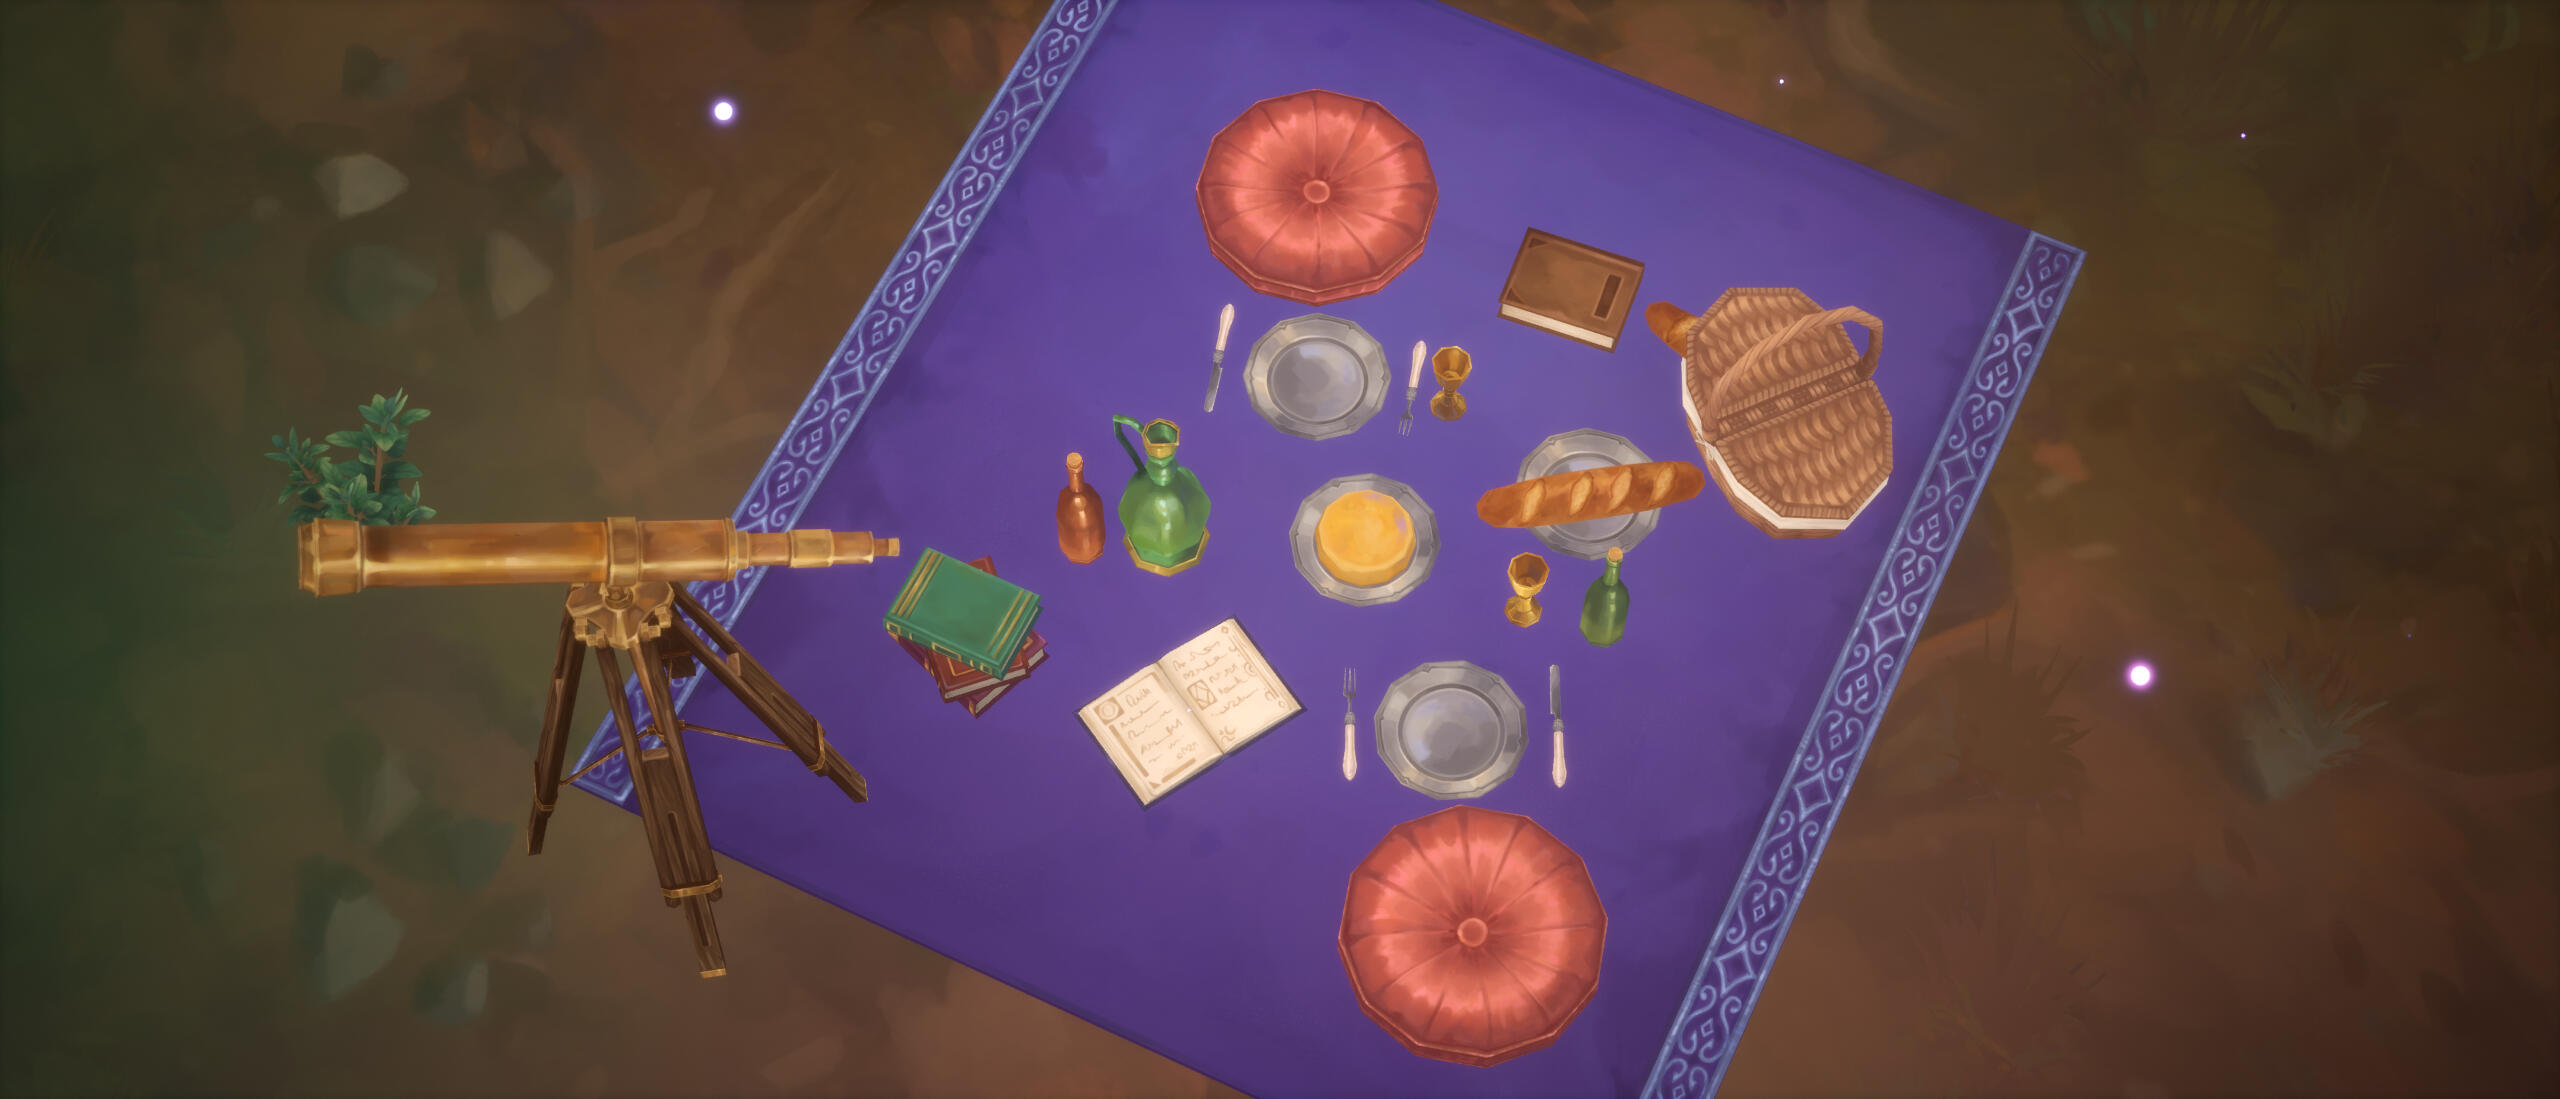
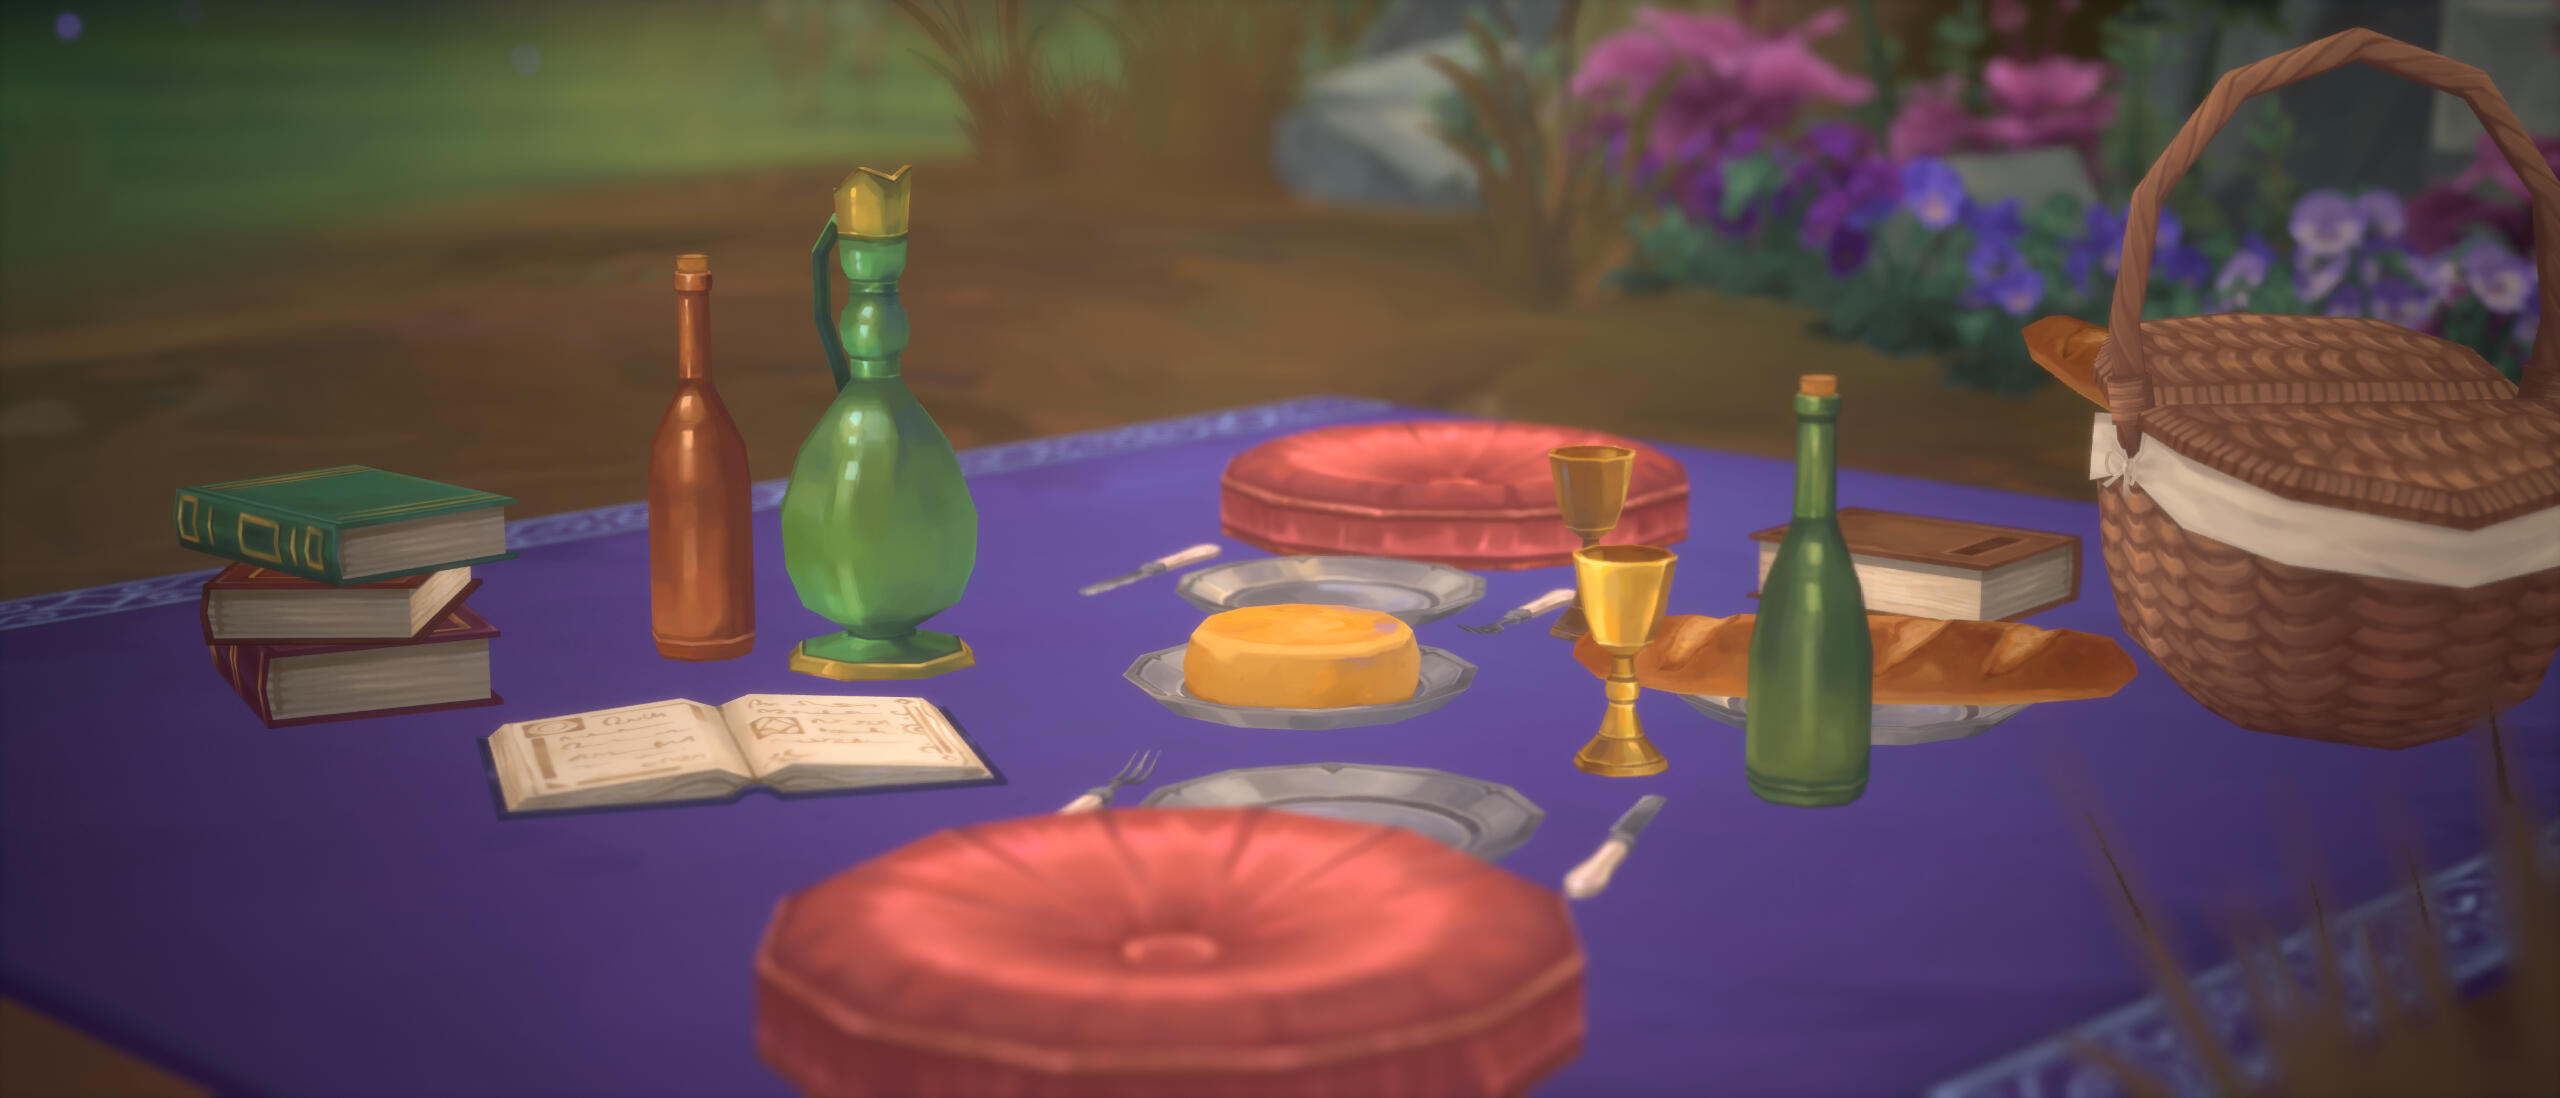


The theme of this project was purple so these plants weren't from the same biome.
I stumbled upon some of these plants when I was travelling. I just made anything that I liked


Material breakdown
This project didn't have any lighting at all. I wanted to practice my painting skills so that was my choice.
I tried to set up some light because I wanted to have some shadow, but it was too complicated in a short amount of time.All of the assets only have a diffuse map for the emissive channel. I did use vertex colour to fake
the shadow though. In addition, I used RVT to blend the assets with the landscape


Texturing process
Since this project only used a diffuse map for the assets, I started by creating an alpha for the leaf. I was trying to simplify the shape rather than make it the same as a reference. Also, try not to make the alpha noisy as it’ll cause an issue in the shader. Doing alpha cutout is very expensive. This project also didn’t have any lighting. I had to paint 3 values for the leaf. There were light, midtone/transition colours and the darkest colour. For the flowers, there were only 2 textures—one in light and one in shadow.
I’d say my colour palette is quite muted with a hint of saturated colour. For the painting style, it was quite simple. If you look closely, they were just strokes of colour. I mainly used 2 brushes and played with the opacity settings in Photoshop. These are my own modified versions of the brushes that I’ve brought from the other artist. The original brushes had too much noise for 3D art.
As you can see, I made the details very loose. My process was always going from loose and blurry to detailed. Some artists start with solid blocks of colour and just blend them later. So, adapt this to your own pipeline! You won’t be able to see this much from afar in the game view. Don’t zoom in very close when painting this. It’s also good to check your colour with all of the assets in the scene. So they’ll look harmonised and cohesive.


I went overboard by creating the flower bud and the stem for the daisy. If this is going to be in the real game. I won’t do these details and the poly counts will be much lower than this. To make the plant look fuller, I created a plane at the bottom. For the texturing part, I added a hint of blue/purple to indicate a reflection light from the skylight.
After I’m done with the texture, I laid out the alpha cards by hand. I created a template for each plant. When creating these, try making the plants look good from every angle. That way your alpha cards won’t look flat. Remember to check the top view! And by doing this you can rotate the mesh around when arranging it in the engine. I created 5 variations for the daisy. I made one with just the buds so I have things to work with in the engine and they won’t look repetitive.


First, block out the colours in Substance Painter. Try to determine the light and shadow first. Second, Detailing in Photoshop. Lastly, Hide the UV seams in Substance Painter
I hope this breakdown will be helpful! I'm still in the process of learning too!
Sushi Ben
Big Brane Studios
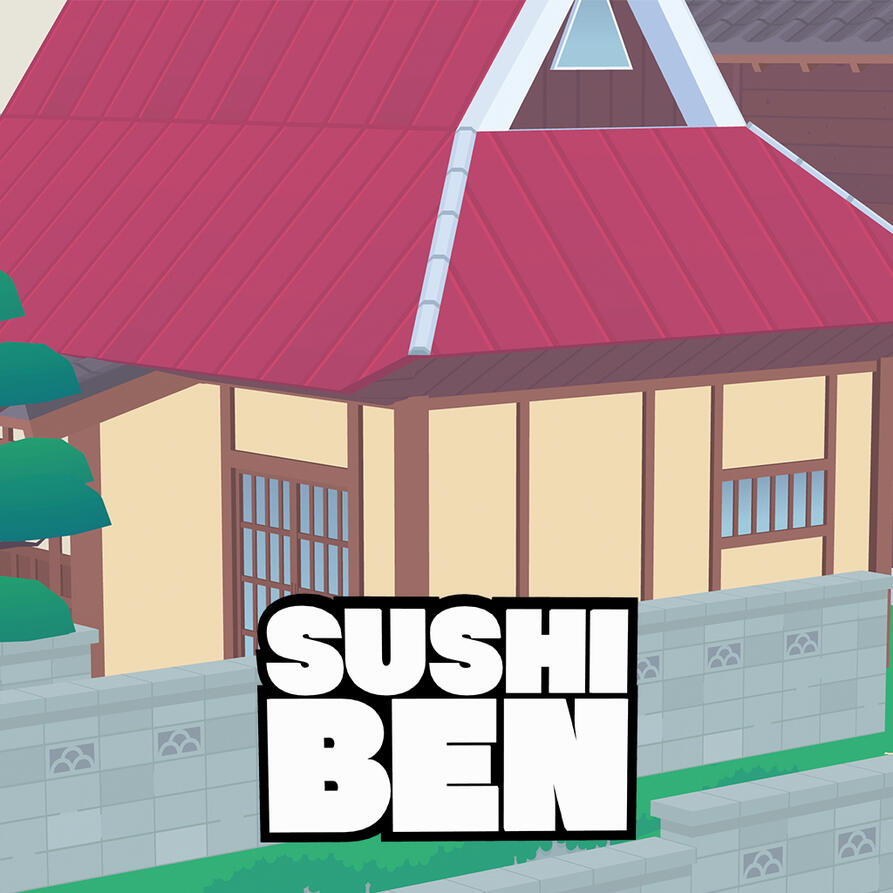
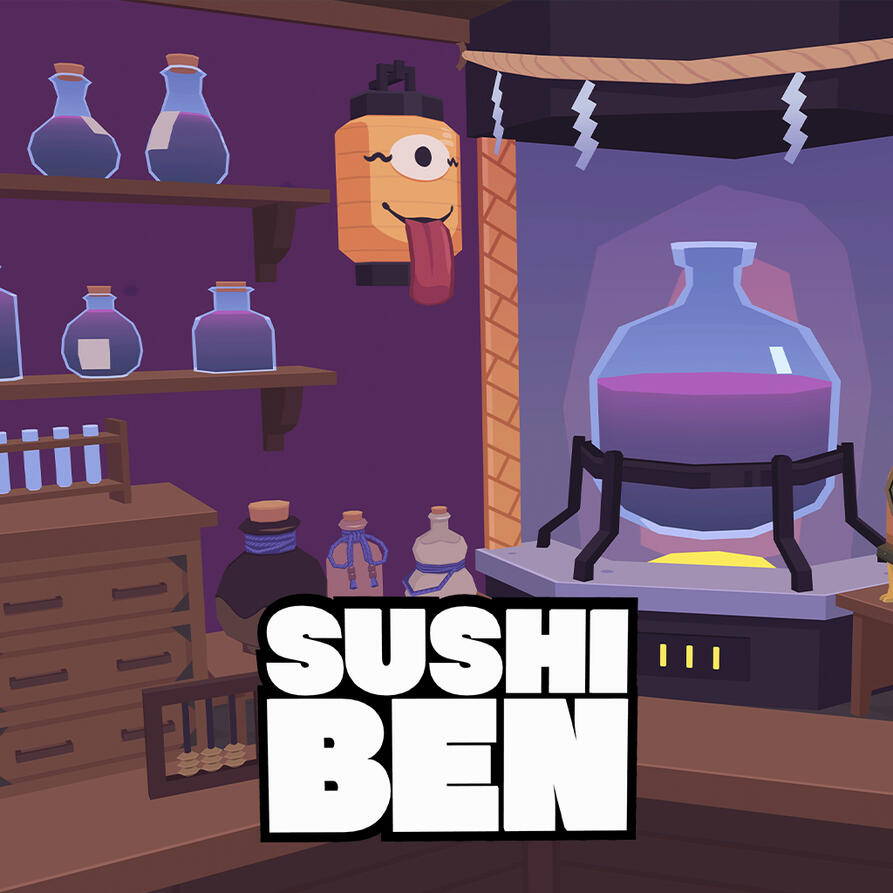
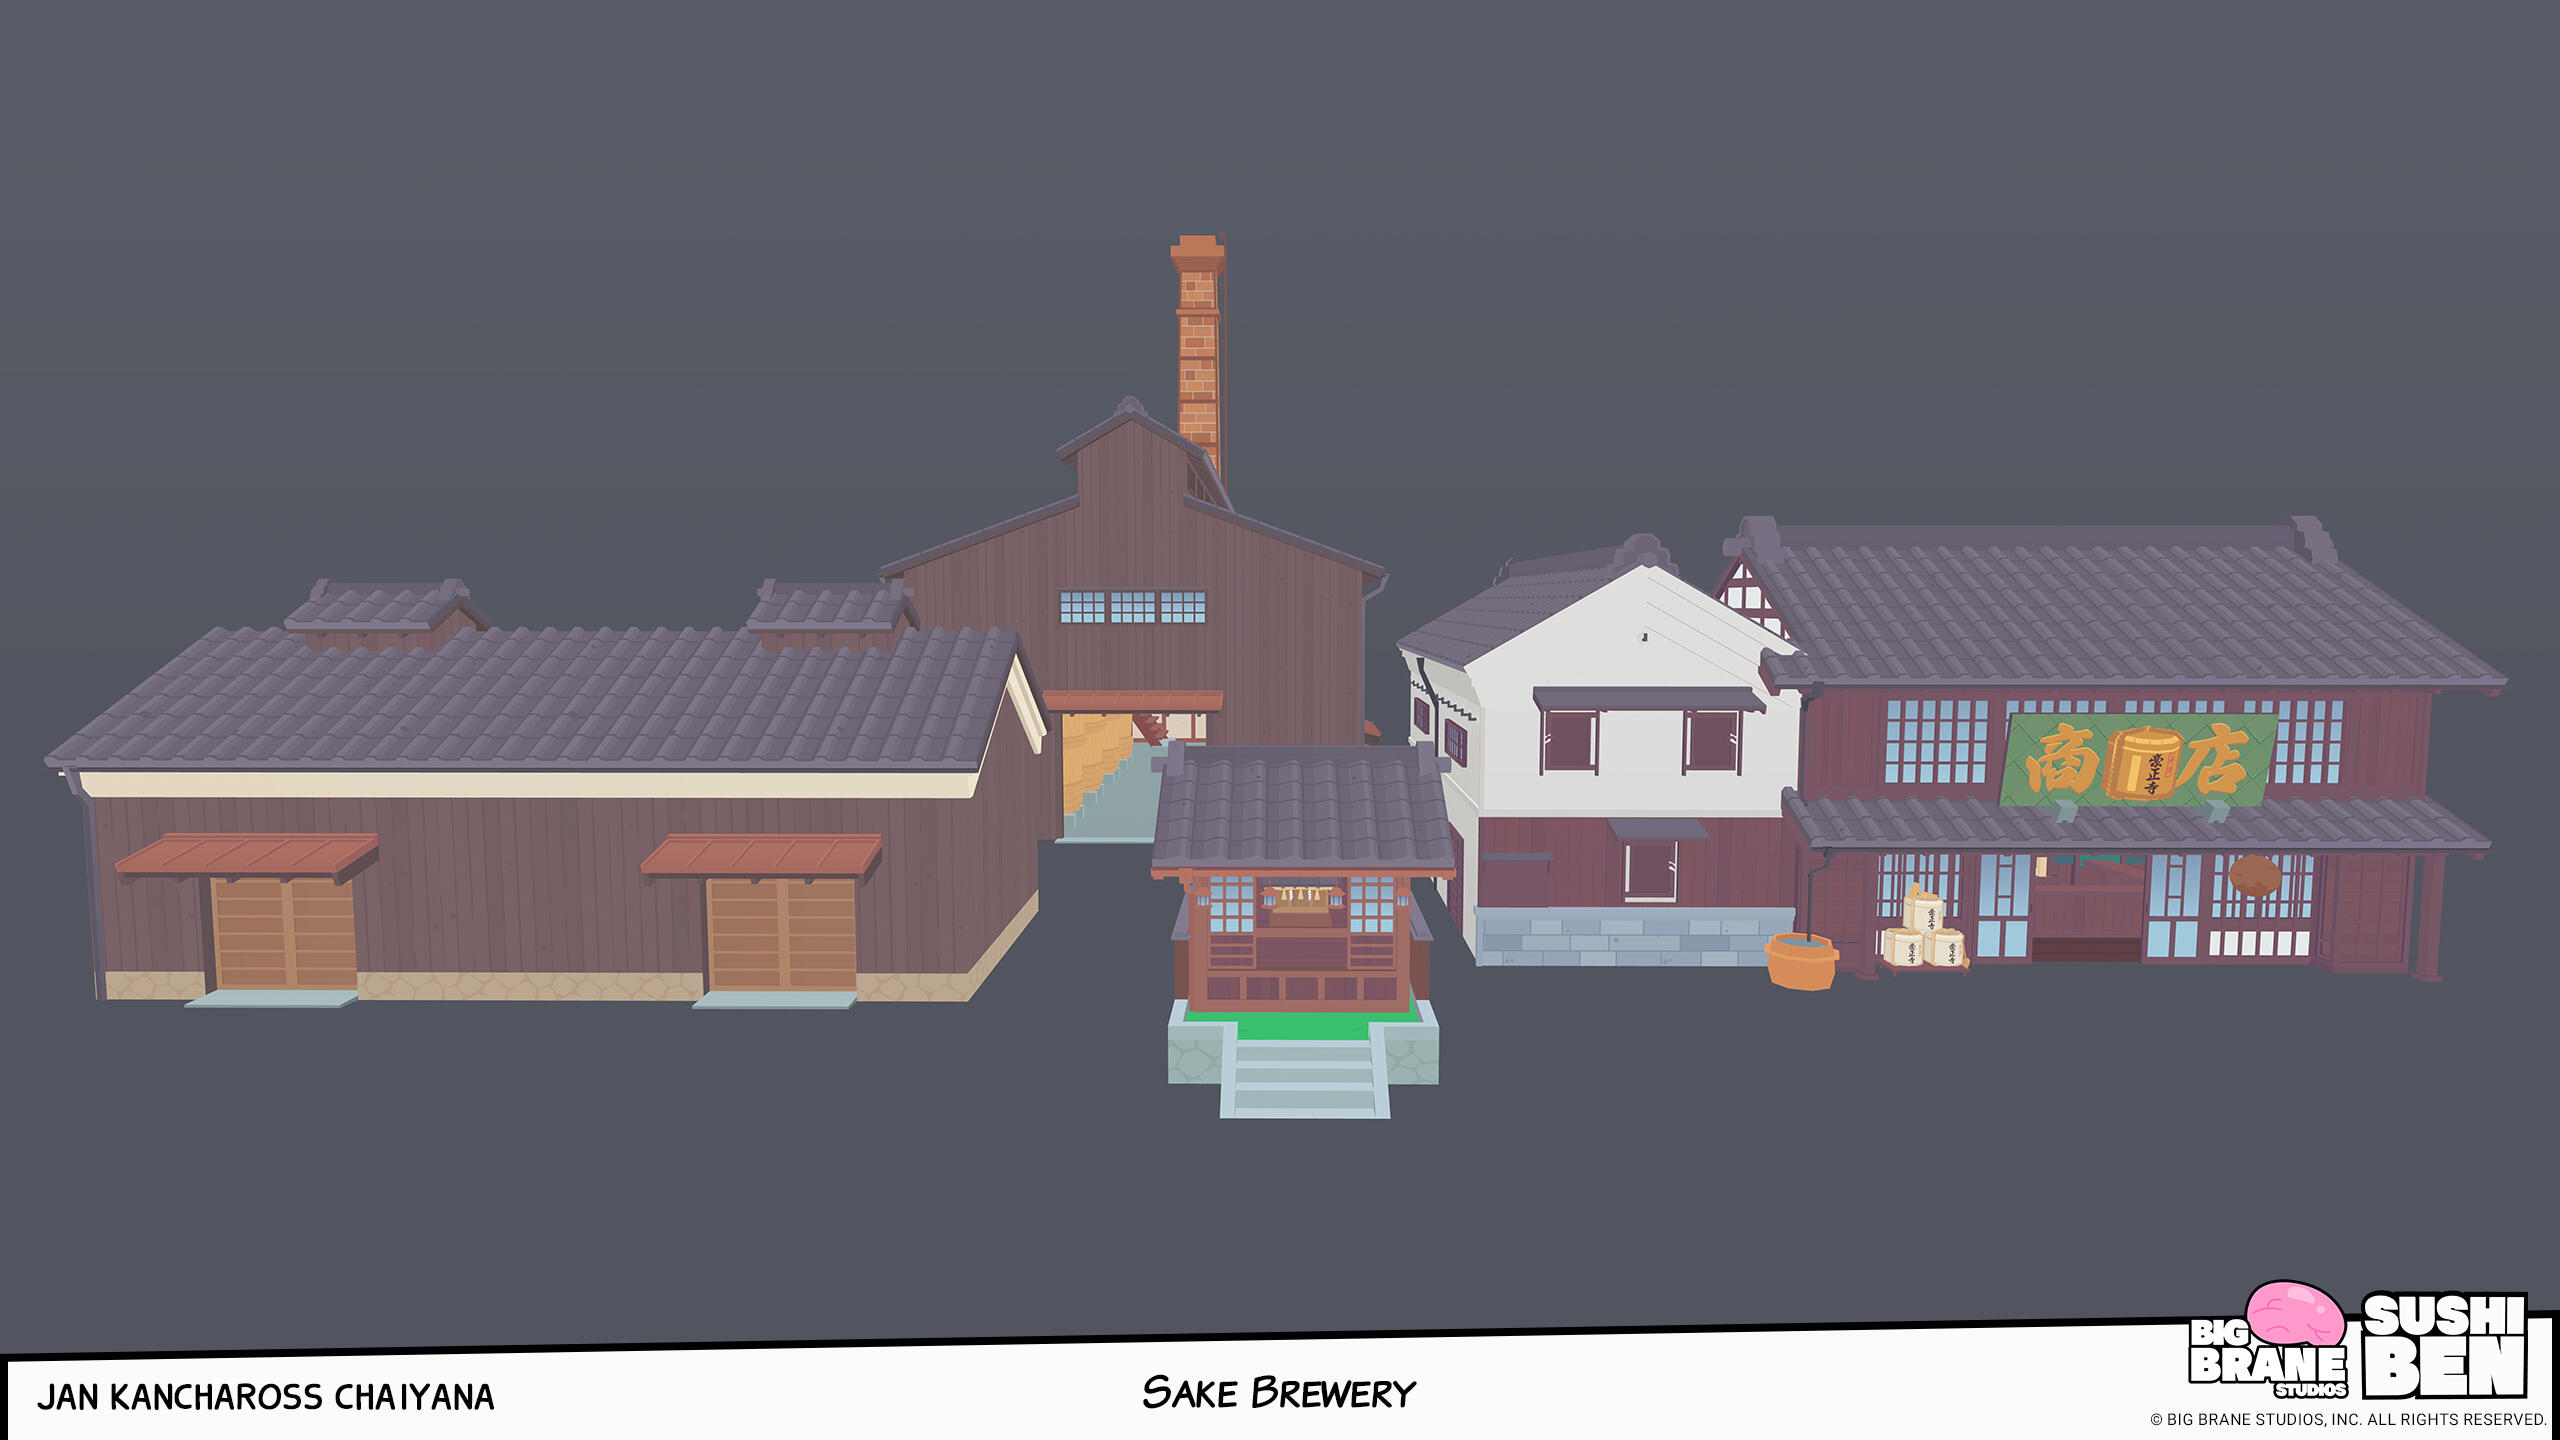
I mainly worked as an Environment Artist on this project. While I handled both the modelling and texturing of most buildings, I focused solely on creating the initial textures for some buildings and got help from fellow artists on the team! Additionally, I created various small props.
We had to keep the poly counts relatively low and did the heavy lifting on the texturing part.
Huge thanks to everyone from the studios for helping me!




Concept Art by D.B Root on Twitter
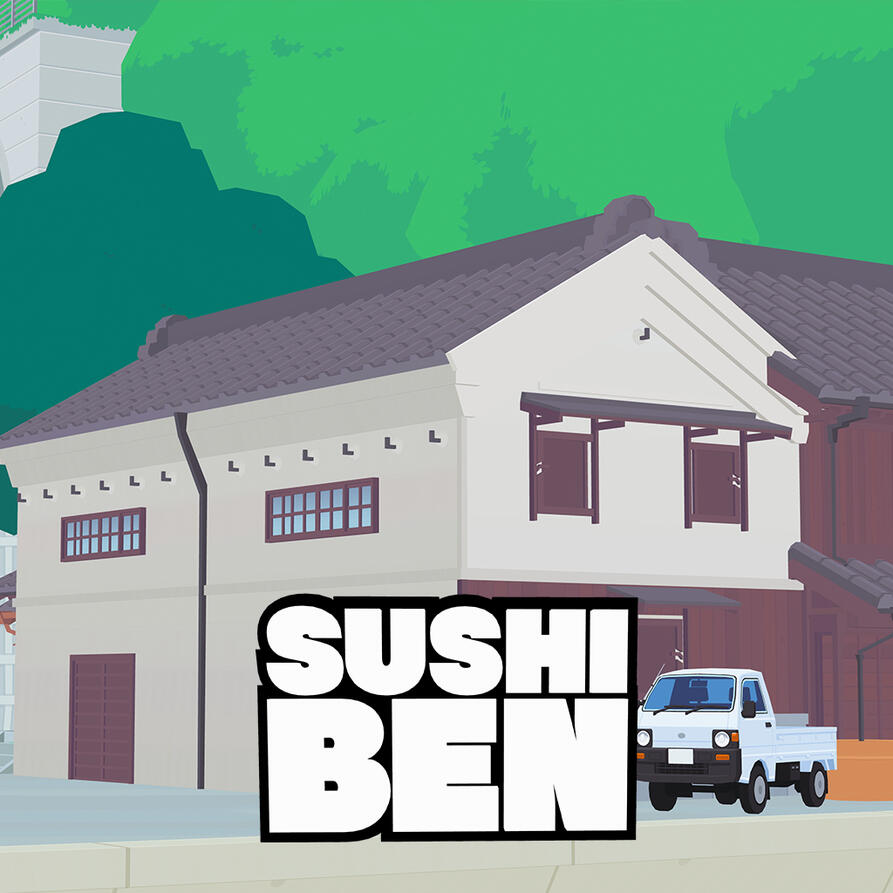
For Ofukuro's shop, I worked on the modelling and the first pass texturing.
Then, it was colour-graded and look development by another artist on the team
3D Artist Cocefi


For this building, I worked on the modelling and the first pass texturing.
Then, it was colour-graded and look development by another artist on the team
3D Artist Cocefi


Concept Art by Damurushi on Twitter


Character Artist Priichu on Twitter


I was also responsible for some manga panel creation!
Here are some that I was so proud of myself.


